21 Keurig Coffee Maker Problems (+ How To Fix Them)

The Keurig coffee makers are indeed a marvel of modern technology. It is successfully dominating the coffee industry with its extensive range of models and K-cups.
With Keurig K-cups, you can choose from various blends, flavors, and strengths to cater to your coffee cravings.
While Keurigs have become more widespread and accessible over time, they have flaws. Keurig coffee makers can be unreliable for coffee lovers due to some peculiar quirks.
The issue with your Keurig coffee maker can sometimes be technical and sometimes just due to cleaning negligence. Getting to the bottom of these problems is the most effective way to fix them.
In this article, we examine some of the most common Keurig problems. You can quickly continue enjoying a delicious cup of coffee by removing the guesswork when your Keurig hits a glitch.
However, we recommend contacting Keurig Customer Service if you have more severe issues. Regardless, we’re determined to find a solution. We will try to help troubleshoot your Keurig coffee maker with the easy solutions mentioned in this article.
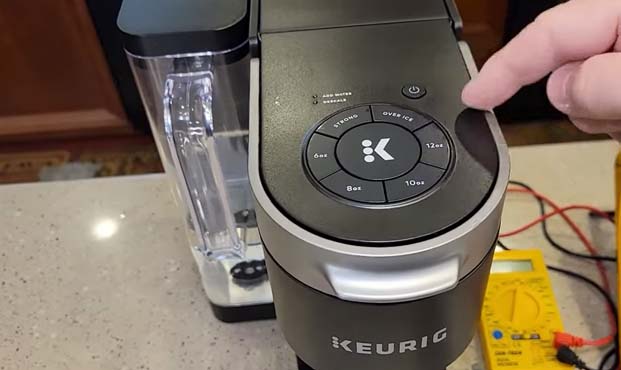
1. Keurig is Not Turning On
A Keurig machine not turning on can have several reasons behind it. Sometimes it can be something to do with the appliance, but mostly it can be just a technical issue with the plug.
Their reason might be a malfunction with the power supply you are using for the coffee machine. It is most likely that the socket has stopped working, or you have not adequately plugged the switch of your brewer into the socket.
Another unique reason you might not even be thinking of can be you are not pressing the brew button hard enough.
Solution
If your Keurig is not switching on when you are sure there is nothing wrong with your appliance, check the plug of your brewer. Ensure you are correctly inserting it and pushing it into the socket, so it gets the power supply.
If the machine still doesn’t switch on, use another electrical appliance to test the functioning of the power supply. The power supply is fine if the device works. We have another solution to fix this issue.
The problem might lie with the socket, so try to take your brewer near a different power outlet and plug it in. Make sure you press the brew button hard enough, so the machine starts working.
Sometimes we are not pressing the brew button properly, which causes trouble getting the machine to start working. If your Keurig model has an LCD like Keurig 2.0, you will see a welcome note on the display when you press the power icon.
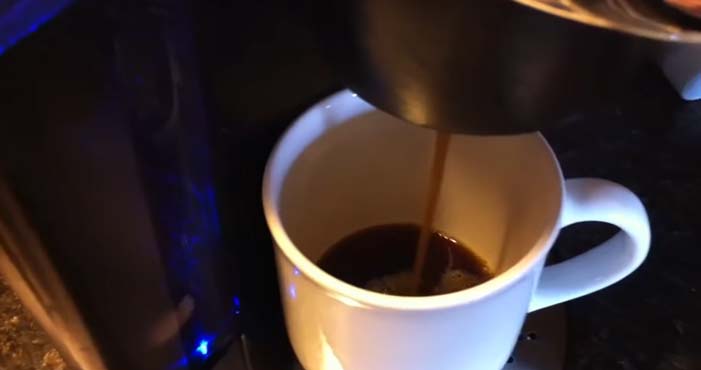
2. Keurig is Not Brewing Coffee
Does everything with your Keurig seem normal, but it suddenly stops brewing? In this case, it is a warning to clean your brewer. A Keruig brewer requires descaling every 3 to 6 six months, and it may need it sooner than that if you use it excessively.
Keurig not brewing coffee is a sign of debris and buildup accumulating inside it, clogging its internal parts. The coffee residue and dirt can dry up and stick to the machine’s internal components if you do not regularly clean it.
When the machine isn’t descaled in a long time, the buildup in the tubing hinders the water flow, which eventually disturbs the brewing process. So it is why your Keurig is not brewing coffee.
Another cause of your Keurig not brewing can be that you have not adequately put the removable parts, like the water reservoir and k-cup holder, back into the machine.
Solution
For a quick fix, remove the water reservoir of the machine. Put the machine upside down and gently shake it. Ensure you are not doing it aggressively because it can damage the machine’s internal parts.
Now pop in a k-cup and press the brew button to check if the issue is resolved.
If the previous steps fail, you might not have properly put the removable parts back.
Make sure you align all removable components of the coffee machine correctly.
Now, brew a cup. If the problem persists, it needs descaling. You can run a few cleaning cycles or use a Keurig Descaling Solution for proper cleaning.
To Descale your brewer, follow these steps:
- Unplug your machine.
- Remove the K-cup if there is any.
- Pour the descaling solution and water into the water tank.
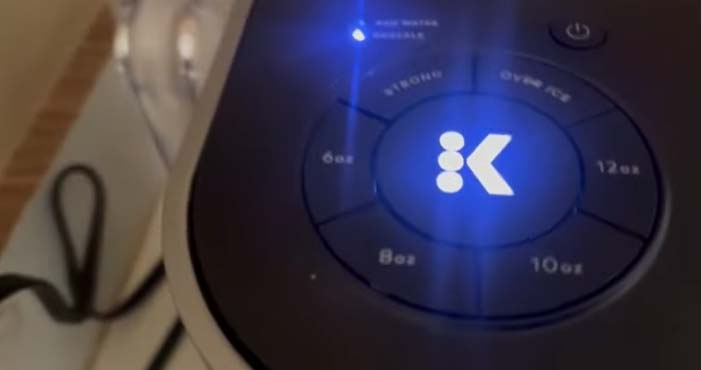
- Choose the largest cup size on your brewer and press the brew button.
- Once the cycle completes, let the machine sit for 30 minutes.
- Add fresh water into the tank and repeat the process a few times.
- Your device is now clean and ready for use.
You can use white vinegar to make your descaling agent. Mix equal parts of white vinegar with water and pour it into the water tank.
3. The Coffee is not Hot Enough
Keurig brewers have a heating element that heats the machine to start brewing. This heating element shuts off on its own to prevent the device from overheating. The disabling heating chamber might be why your coffee is not hot enough.

There is another reason why you are not getting hot enough coffee, and it can be the brewer’s uncleanliness. Most probably, your machine is in dire need of cleaning and descaling.
The limescale and particles in the coffee machine block the heating elements and stop working correctly.
As a result of clogged heating elements, the water doesn’t heat up to the required temperature, so you don’t get hot enough coffee.
Solution
The easiest way to fix this issue is to reset your Keurig. It will change the settings of the heating element, making it work at its maximum efficiency. You can try pressing the brew button for up to 5 seconds; it can sometimes fix errors.
To reset a Keurig turn the brewer off and unplug it. Let it sit for at least an hour, and then plug it back into the power supply. It will reset your Keurig.
If the basic technique of resetting doesn’t work, detach the machine’s water reservoir and turn it off. Let it sit for a few minutes, and plug it back in without the water reservoir. Then turn on the machine and put the water reservoir back in. Your Keurig is reset.
If resetting your Keurig doesn’t work, it probably has an issue with the water pump. It might not be pumping water because it has clogged. Clean the valve at the bottom of the tank where it attaches to the machine. Or descale your machine.
4. Keurig is Taking too long to Brew
Keurig brewers are known and appreciated for their quick brewing technique. Keurig brews 6 to 10 oz coffee within 1 to 3 minutes. It has slowed down if it takes longer than that or brewing a lesser quantity.
When Keurig is taking too long to brew, it means the brewer has buildup inside. The buildup of coffee residue and other particles can leave the machine’s internal parts clogged.
If you maintain and clean your machine regularly, but it takes too long to brew, the water pump might have given up. A malfunctioned water pump causes the water to flow slowly. Hence the machine takes longer to brew.
Solution
Descale your machine to get rid of the clogging and blockage caused by the coffee residue or other calcium deposits. You can run a few cleaning cycles without a descaling solution, and it will likely rinse the machine well, bringing it back to its regular programming.
When descaling doesn’t work, the water pump has undoubtedly been damaged. If the water pump does not pump the required amount of water within the time necessary, it will slow down the brewing process.
To repair or replace the water pump, contact Keurig customer service at 1-866-901-2739. If your Keurig coffee maker is under warranty, they will fix it free of cost.
5. Keurig is Stuck on Preheating
When you add cold water to the reservoir and turn the machine on, it goes into preheating mode for almost 3 minutes. If it takes longer than that, it is probably stuck in the preheating mode.
If the brewer has adequate water but gets stuck in preheating mode, there is probably something blocking the water nozzle. It can get a clog by dirt or leftover coffee grounds. You can access it by opening the top as if adding a new pod.
Solution
Firstly, try unplugging the machine and plug it back again, ensuring it has enough water for brewing. Restarting the brewer will resolve the issue of being stuck in preheating mode.
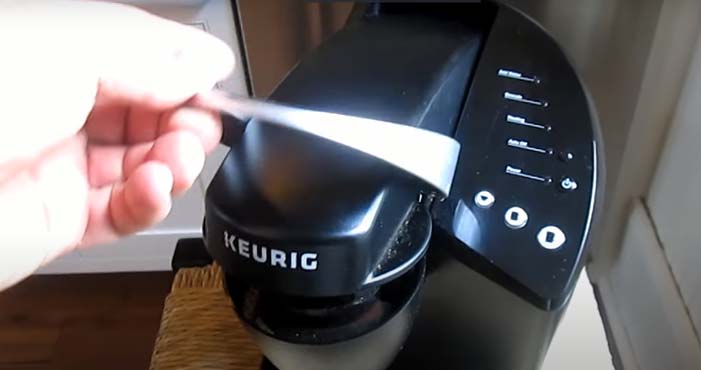
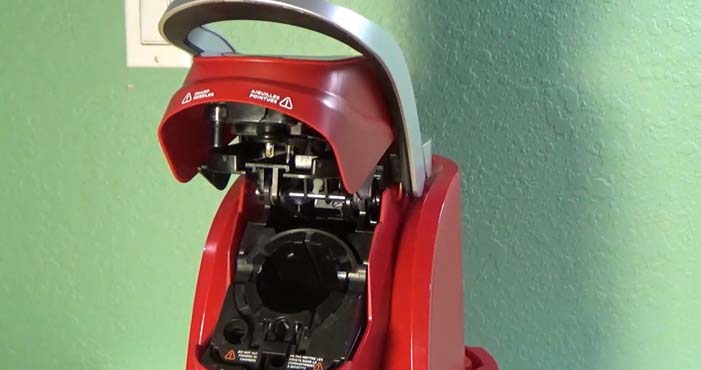
Sometimes the machine might get stuck in the preheating mode due to a blocked water nozzle. You can easily clean it using a paper clip or a sewing needle.
Wait for the machine to cool down before starting the cleaning process. Open the head of the coffee machine, and you will see a nozzle under the head. Straighten a paper clip and insert it in the nozzle to clean it. Move it around gently so the dried-up gunk loosens and easily comes out.
You must clean the needles in bright light so you can see what you are doing to avoid any mishaps with the blunt needles.
If you have Keurig 2.0, you can use the Keurig maintenance tool for ease and convenience.
6. Keurig is Leaking
If your Keurig starts leaking, you must immediately find a solution to avoid permanent damage. A Keurig may leak during the heating up, while brewing coffee, or after.
If the brewer leaks during heating up, you have probably overfilled the water reservoir. If that’s not the case, the water reservoir might not be appropriately aligned with the machine or have cracks causing it to leak.
If the coffee machine leaks from the pod holder, it is most likely blocked—coffee leaks from the k-cup holder during the brewing process.
If your Keurig leaks after brewing a cup, it might be due to using the wrong-sized K-cup or a clogged puncture needle.
Solution
If the brewer’s water tank seems to be leaking, fill it just to its max line to avoid overflowing. Place it correctly into the coffee machine; if it leaks, you might have to replace it with a new water reservoir.
Make sure you use the right k-cup for the Keurig model you are using, or it will cause leakage from the k-cup holder. If you are using the right K-cup and it still leaks, your k-cup holder has a clog that requires cleaning.
To clean the K-Cup holder. You can use a paper clip or Keurig maintenance tool. You must be careful while cleaning the pod holder because it has blunt needles that can give you a nasty poke.
To clean the punctured needles, follow these steps:
- Remove the K-cup holder from the coffee machine.
- Press on both sides of the pod holder to detach it from its funnel.
- Straighten a paper clip and insert it in the exit needle; move it around gently to loosen the stuck-up debris or coffee grounds.
- Using the same paper clip, clean the entrance needle at the underside of the machine head.
- Rinse the pod holder with warm water and let it air dry.
- Once it is dry, put the funnel back and place the pod holder back in the machine.
7. Keurig Keeps on Turning Off
Keurig machines usually go on power saving after a few minutes of inactivity. But your Keurig machine may turn off on its own while you are using it.
Sometimes the Keurig machine can turn off and go into the power-saving mode during brewing, leaving you hanging behind with half a cup of coffee. The problem may rely on the water tank.
The water tank connects to the coffee machine through magnets. If the magnets on the water tank and the coffee machine do not align properly, the machine takes that as a sign of insufficient water and goes into power-saving mode.
Solution
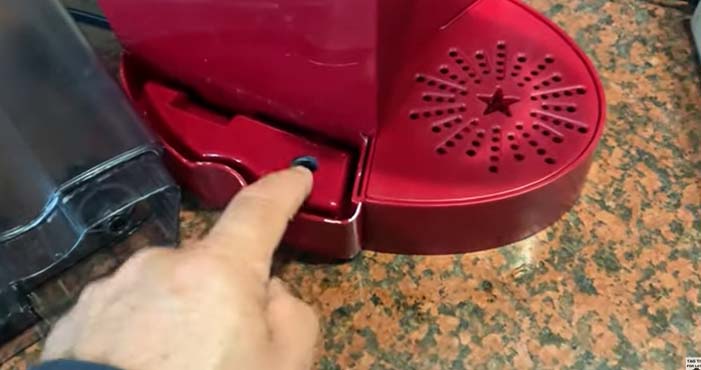
To fix this issue, try turning off the power-saving mode of the coffee machine. When the Auto-off button is turned on, a green light on the brewer indicates it. The green light switches off when you press the auto-off button to turn it off.
If you have a newer model of Keurig machine, they have an LCD. They have an icon on display for power-saving mode; press it till it turns off.
Another point to consider is that you are probably not attaching the water tank properly to the coffee maker. Ensure that the magnets on the water tank align correctly with the magnets on the coffee brewer. The coffee machine will only work properly if the magnet aligns directly.
8. The Keurig Keeps Beeping
Your Keurig machine beeping at you means it is indicating something. The machine beeps when an underlying issue with the coffee maker needs immediate attention.
The Keurig machines most likely beep when it requires descaling. It indicates that you have not descaled your Keurig brewer in a long time. Another reason for extensive beeping can be the incorrect placement of the removable parts.
If the water tank is not aligned correctly with the machine, it will start beeping to bring it to your attention.
Solution
You can turn off the beeping of your Keurig machine by descaling it. Descaling will clean it thoroughly, removing all the dirt and clogging. As a result, the beeping will turn off automatically.
If descaling doesn’t work, remove the water reservoir and place it back again.
Make sure the magnets on the water reservoir and machine align together. When the coffee machine gets an indication that the water tank is connected and has enough water to brew, the beeping will turn off.
9. Keurig is Brewing Half Cup
Is your Keurig brewing only half a cup of coffee lately? It is probably because your brewer has clogging and blockage.
The reason behind brewing half a cup is that your brewer is not working to its full potential due to its dirt and residue buildup. The buildup and calcium deposits cause blockage of the machine’s internal parts, hindering the brewing process.
The most prominent parts that get clogged easily are the needles. A Keurig brewer uses entrance needles to puncture K-cup from the top to let the water flow through the coffee grounds to extract all its flavors.
The exit needle that pierces the k-cup from the bottom allows it to pass through the spout and into your cup. If these needles have dried up coffee grounds, coffee doesn’t dispense properly.
Solution
The best way to unclog a Keurig is to descale it or clean it with hot water. You can descale your Keurig using a descaling agent or white vinegar solution.
Detach all the removable parts of the machine and rinse them with hot water. Once the removable parts dry, reassemble the coffee makers and start the descaling process. You can use a Keurig descaling solution or make one by mixing an equal quantity of white vinegar and water.
Once you have descaled your machine and the reservoir runs out of water. Add fresh water to the tank and run several cleansing cycles. Repeat the process a few times to ensure the machine is free of residue, lingering descaling agent, or vinegar.
You can extend the life of your coffee maker by descaling it and making your coffee with bottled or filtered water.
When using a hot chocolate or cocoa pod, run a water-only brew cycle after each use to prevent buildup.
10. The Descale Light doesn’t Turn Off
The descale light of the Keurig brewer turns on and reminds you that it’s time for descaling. Once you have descaled your machine, it turns off on its own.
However, did you descale your Keurig coffee machine but the light won’t turn off? It can happen when the brewer is not correctly cleaned and free from buildup.
This issue usually arises when you have not descaled your brewer with enough water and a descaling solution. The descaling lights turn on to indicate that your coffee machine requires more cleansing cycles with enough water.
Solution
To turn the descale light off:
- Add fresh water in the tank to the max line.
- Remove the k-cup from the machine and choose the largest cup size.
- Press the brew button to run a cleansing cycle.
Repeat this process till the machine runs out of water. It will hopefully turn the descale lights off.
If cleaning cycles don’t turn the descale light off, try descaling the machine with the descaling solution again. Descaling will ensure that all gunk and residue remaining stuck will be ridden off. Once the coffee brewer is rinsed correctly, the lights will turn off.
In case the problem persists, contact customer service for further assistance.
11. Keurig Dispenses Coffee grounds with coffee
Getting coffee ground into your mug can be frustrating because it ruins the coffee experience. Your Keurig will typically never do that. It will give you a fresh cup of delicious coffee free of any coffee residue.
When you see coffee grounds at the bottom of your cup, it is because the puncture needles of your coffee machine are clogged. If you don’t clean the puncture needles regularly, the coffee or cocoa residue clogs the needles, resulting in the coffee ground in your coffee.
Using reusable k-cups makes you more prone to getting coffee grounds into your cup. If you don’t close the seal of the reusable cups properly, they are likely to leak during the brewing process, causing coffee grounds to pour into your cup.
Solution
To avoid getting coffee grounds in your coffee, clean the puncture needles regularly. The exit and entrance needles of the K-cup holder must be free of any dirt or residue to pierce through the K-cup properly.
As already mentioned in this article, you can rinse the K-cup holder with hot water and use cleaning tools.
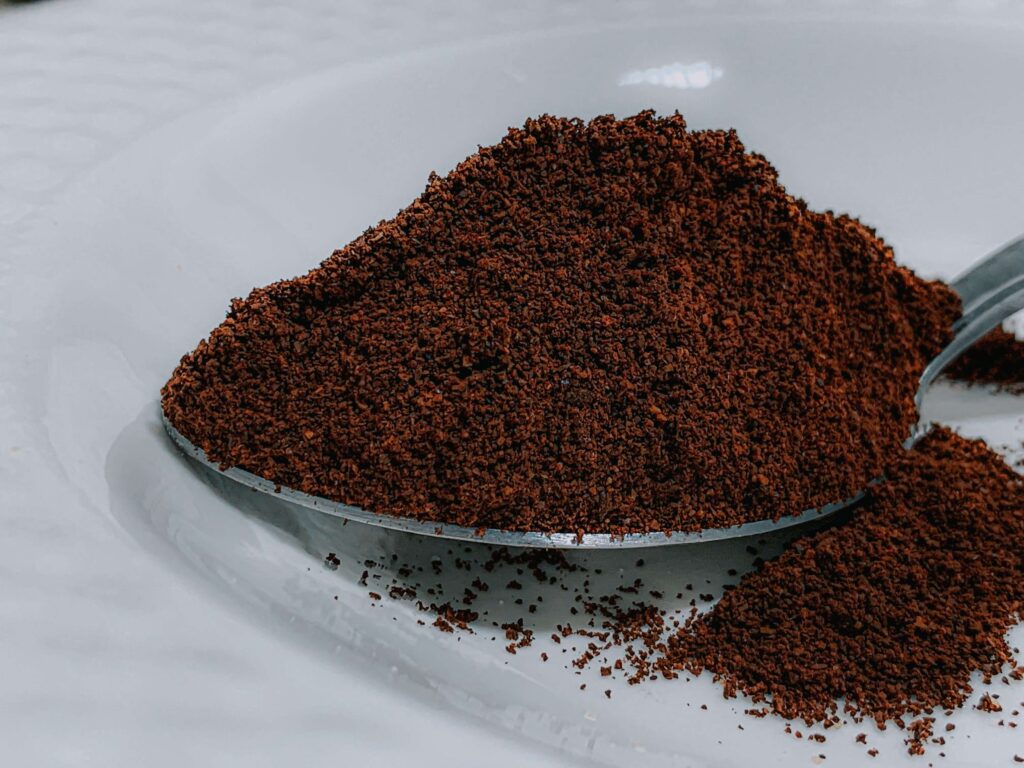
If you are using refillable k-cups, make sure you fill the K-cup with an adequate amount of coffee grounds. It is important not to overfill the k-cups o they may leak during brewing. Also, fill refillable pods with coarsely ground coffee for best results.
12. The Keurig Coffee Doesn’t Taste Good
Keurig coffee maker pours you a delicious cup of coffee in no time, but what if your coffee has an unpleasant taste? Sometimes the coffee tastes blends and bitter and has a weird aftertaste.
There can be several reasons for bland-tasting coffee. One of them is the buildup of coffee oils, coffee residue, and dirt in the coffee makers. When unwanted substances are stuck in the machine, it dispenses weak or burnt coffee.

The clogging can be in any part of your coffee machine, either the water tubing or the K-cup holder. The blockage of internal components affects the coffee machine’s functioning, resulting in bad-tasting coffee.
Another reason can be the coffee machine’s leftover descaling agent or vinegar. Maybe the last time you descaled your machine, you didn’t rinse it enough with water, leaving the descaling solution lingering.
Solution
Descale your machine regularly to keep its internal parts clean and in proper working condition.
Rinse the removable parts of the machine frequently to avoid buildup. After descaling, make sure you run several rinsing cycles to get rid of any residual descaling agent or vinegar.
The punctured needles of the k-cup holder get dirty due to cleaning negligence. Keep the puncture needles free of debris and gunk to ensure the machine extracts the coffee grounds correctly to give you the best-tasting drink.
If your machine accumulates buildup quickly, switch from tap water to filtered water. Using filtered water to brew coffee avoids building calcium deposits for a long time, so you don’t have to clean your machine now and then.
13. Keurig is Dispensing more Coffee than Required
When Keurig brewer starts dispensing more coffee than the volume of the cup and is overspilling the cup, it gets messy.
Keurig dispenses too much coffee when you overfill the water reservoir. Always fill the water tank till the max line. Overfilling the water tank not only overspills the coffee but also affects its taste and quality.
Another cause of Keurig making more coffee can be the blockage of puncture needles. The needles play a crucial role in the brewing process and are prone to causing malfunction quickly.
Solution
The first option is to clean the puncture needles thoroughly. Eject the K-cup holder from the coffee makers, and clean the exit and entrance needles one by one. Make sure to follow the instructions mentioned in the article above.
Next up, fix the overspilling issue by removing the water tank of the coffee machine. This time, ensure you add adequate water without overfilling it. Place it back into the machine, making sure it is properly aligned.
If the problem persists, follow these steps to fix the issue:
- Unplug the machine.
- Remove the water reservoir.
- Take the brewer to the sink and place it upside down.
- Gently shake the brewer and tap on its bottom.
- Now reassemble the machine and add water.
- Run a few cleaning cycles without a K-cup.
- Add a K-cup and brew a cup to check if the issue is fixed.
14. Keurig has Enough water but still shows the “add more Water” sign
The Keurig machine might show an “Add Water” error even though the reservoir has enough water to brew coffee. Sometimes it can be due to the misplacement of the water reservoir.
It can also occur because the valve at the bottom of the machine might be clogged. So, when the machine doesn’t get access to the water in the reservoir, it shows the add more water sign.
Solution
Try cleaning the water reservoir of your machine to fix this error. Remove the water tank and empty it. Rinse it thoroughly with warm water, or let it soak in vinegar for a few minutes. The acidic nature of vinegar will remove the gunk from the nook and corners of the reservoir. Then clean it with a soft cloth and attach it to the machine.
Ensure you clean the water valve that connects the water reservoir and the coffee machine at the bottom. The valve must be free of gunk and dirt to ensure smooth water flow for the brewing process.
If your machine is still showing the error after cleaning and aligning the water reservoir properly, give it a few gentle taps on the head. Otherwise, contact the Keurig helpline.
15. Keurig is more Noisy than Usual
Keurig coffee makers are not so noisy that it becomes frustrating to brew coffee, but sometimes they become louder than usual.
The problem doesn’t always lie with the coffee maker; the counter you have put the machine on can be causing the noise. The machine will start rattling while brewing coffee if the counter has a hard top.
A loud Keurig can also mean it is dirty. The buildup and limescale can be the culprit behind your Keurig making loud noise while brewing coffee. These errors are a warning sign if you do not descale them on time.
Solution
Put the coffee machine on a different countertop to check if it stops making loud noises. If it still does, you will have to descale your machine. Hopefully, now you are familiar with the descaling process of Keurig machines, or you may check the beginning of the article.
If you have to descale your machine and it is still noisy and rattling, you must contact customer service. Your Keurig coffee maker is likely broken. They might replace it with a new one or replace the damaged parts if it is under warranty.
If your Keurig model is one of the oldest, we recommend upgrading it to the latest one.
16. The Lights on Keurig keep Blinking
If the lights keep blinking on your Keurig machine, there might be several reasons. The reasons vary from one Keurig model to another so we will address the most common ones.
Keurig coffee makers have a charcoal filter to purify the water from the reservoir before brewing coffee for you. If it hasn’t been replaced in a long time, it causes the light to blink continuously.
Solution
Replace the charcoal water filter with a new one. It will stop the blinking lights immediately. To avoid any troubles with the machine, replace the charcoal filter after 60 refills or within 60 days.
If you have a Keurig Classic, pressing three of this Keurig buttons together will solve the issue of blinking lights. Those buttons are:
- Heat
- Add Water
- Medium Cup
If none of the above solutions work, you must ensure the coffee machine’s water reservoir is correctly positioned. If it is disproportionate, the machine starts blinking lights. Then, run a few cycles without a K-cup.
The lights will turn off if the machine dispenses the right amount of water.
17. The Head of Keurig Doesn’t close
Did you pop in a K-cup to brew coffee, but the head of the machine doesn’t close? It can be due to the displacement of the K-cup. The K-cup should fit adequately in the K-cup holder for the head to close.
If you are using refillable K-cups, the size might not be suitable for the Keurig model’s K-cup holder. If the head doesn’t close, the machine won’t be able to pierce through the k-cup and start brewing coffee.
Solution
Choose the third-party K-cups carefully for your machine; they shouldn’t be too big or too small for your coffee machine but sit perfectly in the K-cup holder. When you insert the pod, make sure there is nothing else coming between the K-cup holder and the head. Now try closing it.
If all else fails, find the ring under the brewing chamber. The ring under the brewing head can help you close the head if you still have trouble closing it. Place the ring in its proper position by adjusting it.
18. Steam is coming out of Keurig
If your Keurig machine is emitting smoke from it, it can be dangerous. The smoke means something is wrong with the device’s internal parts that need immediate attention.
Another reason could be that the tank didn’t have enough water, and you started brewing coffee without refilling it. Or it might be due to the clogging of the water tank or other parts of the machine.
Solution
Fill the water reservoir with enough water, so the brewing process runs smoothly. Also, ensure that the water tank placement is appropriately aligned with the coffee machine.
If there is still smoke or steam coming out of the brewer, you must turn it off immediately and call customer service to further guidance.
Do not keep your Keruig Coffee near flammable objects; it may catch fire when the machine emits smoke.
19. Keurig has a Blank Display
If you have plugged in your Keurig machine and turned the switch on the socket, but the display of the Keurig machine is still blank, there might be a technical issue with the outlet.
If you are sure the outlet works, then your Keurig brewer might be broken, or there can be an underlying issue that can be addressed by customer service.
Solution
Connect your Keurig to a power outlet that works appropriately and ensure it is plugged in. Try plugging a few different appliances into your outlet to see if they work. If your other machines also don’t turn on, your outlet is the problem.
Connect the machine to a different outlet. If that does not work, unplug the device, wait 30 seconds, and plug it back in if you are sure the outlet is not the problem.
You need to contact the Keurig helpline if the screen still doesn’t show anything.
20. Keurig Doesn’t Pump Water
For your Keurig machine to start the brewing process, it first heats the water from the reservoir and pumps it through the tubes inside the machine. Sometimes your device might fail to pump the water, hindering the brewing process.
If the machine doesn’t pump water properly, it is impossible to brew a cup of coffee. The water flow must be smooth to ensure it passes through the K-cup, extracts the coffee grounds, and dispenses into your cup.
Solution
The first and foremost thing to check is the placement of the water reservoir. The water reservoir must be adequately aligned with the machine without any gaps. The magnets on the coffee machine and the water reservoir need to connect.
Another issue can be clogging in the water reservoir or the water tubing inside the machine. Remove the water tank and rinse it with water to clean it of buildup and residue.
If cleaning the water tank doesn’t work, remove the water tank and put the machine upside down. Tap on the machine numerous times so if there are any blockages, they open up.
21. Keurig Frother, not Frothing Milk
You can make barista-quality lattes from the comfort of your own home with the Keurig milk frother. Frothed Milk adds texture and flavor to coffee drinks. You can use several ingredients to make coffee recipes using the milk frother and your Keurig machine.
If the Keurig frother has the power light on, it is switched on. However, it is not working correctly if it just heats the Milk without frothing.
Solution
The type of Milk you use in your Keurig frother matters a lot. Using whole Milk or Milk with at least 2% fat content is advisable. It frothers better and has more texture.
If it still doesn’t work, check if the whisk of the frother is placed correctly. Then add Milk to the max line and close the lid tightly. Now, your frother will most likely work great. You can contact Keurig to replace the faulty parts if it doesn’t.
Conclusion
The Keurig line of coffeemakers is well-known and popular. You can also enjoy almost any coffee with an extensive selection of K-cups.
Maintaining a Keurig coffee maker involves following the instructions in its manual and avoiding working on it when it’s hot. Your Keurig will last a long time if you clean it regularly. There are, however, some issues that require a bit of technical knowledge.
There is usually a way to get your machine working again, even when things seem dire. If you can’t get your Keurig to brew or are trying to figure out why it won’t, we hope this article was helpful.
If you can still not resolve your issue after trying one of our solutions, please get in touch with Keurig customer service.