Can I Use Tap Water In My Keurig?
Can I use tap water in my Keurig coffee maker? If you are a coffee lover, you might ask yourself this question many times when brewing your morning joe.
However, its answer is more than a simple yes or no. It depends on a couple of factors such as the quality and taste of the water you are using. According to many experts, you can occasionally use tap water to brew your coffee in Keurig, but repeatedly doing so can ruin your machine. Tap water can also influence the flavor and aroma of your K-cup. And being a coffee enthusiast, it is something you never want to compromise.
So If you are going to brew your coffee with tap water, Hang on! This blog might be beneficial for you.
Let’s navigate our discussion from the beginning to get a better understanding.
Why Does Water Type Matter In A Keurig?
Your cup of coffee is 98% water. The water not only makes or breaks the flavor and aroma of your K-cup but also influences the running life of your Keurig. Let me tell you a little chemistry about tap water.
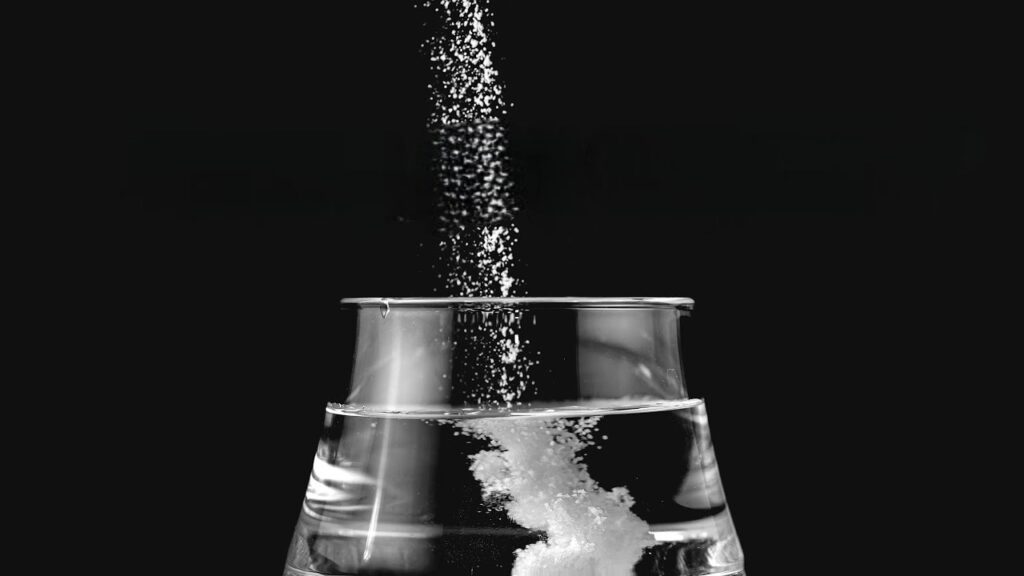
Tap water contains minerals like Calcium, potassium, and magnesium. Hard water contains more dissolved minerals. When you heat water for brewing your coffee, the calcium, magnesium, and carbon dioxide molecules break down and build up limescale (calcium carbonate). Likewise, these calcium deposits can corrode your coffee machine and restrict the flow.
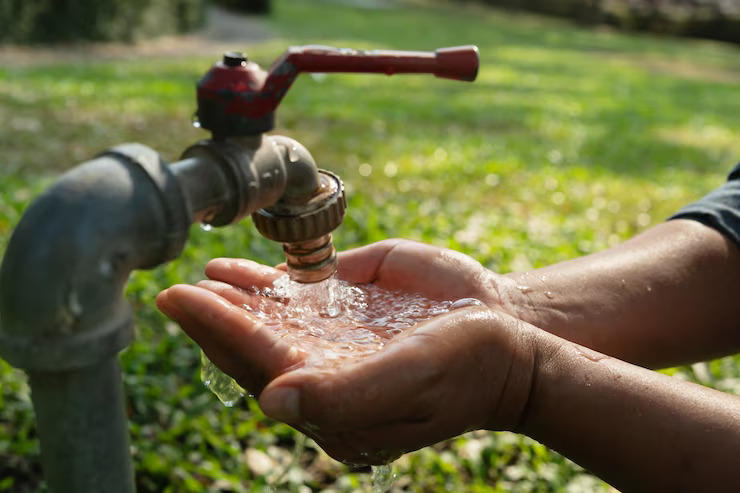
Hence, you should give it a second thought before using tap water in Keurig if it has a high concentration of minerals. Use filtered or bottled water instead, as it will prevent your machine from corrosion, and you can get the best flavor.
Reasons Why You Should Not Use Tap Water In Keurig:
Keurig is a fantastic device with tons of models that all coffeeholic must own. Yet to get the most out of it. You must ensure that you use suitable water and conduct regular cleaning and timely descaling of your Keurig machine.
Here are a few reasons why you should refrain from using tap water in your Keurig.
1. Hard Water Will Damage Your Machine
Have you ever noticed the thick buildup of limescale at the bottom of your kettle, coffee thermos, or other metal appliances? It is an indication that your machine is on its last leg. Heating the hard water would break down the calcium crystals, which would spread out to build a layer over the interior of your Keurig, causing corrosion. Remember, once the limescale begins to form, it can cover the heating coils and water inlets, thus slowing down the flow of water. And you could not rule out the possibility of leakages from eroded surfaces.
2. It Wouldn’t Be a Feast For Your Taste Buds
It is generally believed that hard water deteriorates the coffee taste. However, it is not merely the hardness that impacts the taste but the hardness levels. More specifically, the water’s hardness varies because of the concentration of certain minerals. For example, one water type could have high magnesium levels while calcium is in another. Coffee with high calcium content would taste strong due to the higher level of caffeine being extracted as the caffeine sticks to the calcium.
On the other hand, a high magnesium concentration would result in a creamier texture of the coffee. But this hardness must be within the optimum level because if it is above or below the optimum, it would affect the solubility of the coffee, and its taste could be extremely bitter or flat.
3. It Won’t Give You The Best Aroma
What could be better than starting your day with a lovely coffee aroma? The water within an optimum hardness level usually does justice to the coffee by extracting the flavor at its fullest. And give you a rich, woody aroma.

However, if the minerals in the water make it hard to dissolve, the smell would be very weak.
What Kind Of Water Should I Use In A Keurig?
Don’t opt for tap water if you love your Keurig and want it to serve you for many years. Even though certain mineral contents give you good flavor, coffee experts worldwide never vote for untreated water.
If we take the words of the Specialty Coffee Association of America, the best water for coffee making should be clear with no chlorine and a neutral pH. Now you are left with a couple of good options like distilled water, filter water, or reverse Osmosis (bottled water).
Distilled water is chemically treated water that goes through a process of purification and removal of magnesium and calcium. That’s why it is mainly recommended for appliances like steam irons, batteries, and coffee makers. Distilled water will prevent your Keurig from damage and limescale deposits thus increasing its life span.
However, distilled water gives a flat taste and weak aroma due to the absence of required minerals. Some minerals are needed for the coffee’s rich flavor and enticing aroma.
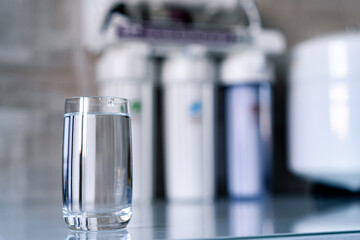
The best and most economical option is to use water filtered for brewing your morning fuel. Many Kering coffee makers also have a filter option that removes contaminants from water.
You can also brew your coffee with (RO) Reverse Osmosis or bottled water in Keurigs. (RO) Reverse Osmosis is a process that has several filtration stages, water passes through these stages to lose all its minerals, and in the end, good minerals are added back to the water. RO will give your machine longevity. It might not give you a bold flavor, but it will always provide a consistent taste.
Is A Water Filter Necessary For Keurig?
Well, it’s not necessary for your coffee maker. However, if you are a coffee lover, filter water would be best to brew your joe. Because hard water will make your coffee taste terrible or metallic. And you’ll probably find limescale deposits around the dispenser.
To prevent such a situation, you’ll need to filter water. Otherwise, your k-cup won’t meet your expectations.
How To Descale A Keurig Coffee Maker?
Why do I love Keurig? Because Keurig has changed the way you descale your coffee maker. You must put the machine in descale mode and follow it all through to get the descale light to go out.
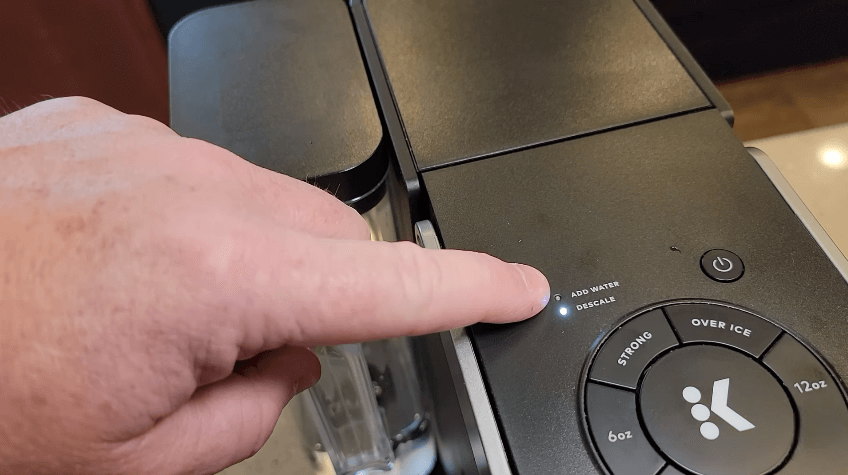
I have for you the step-by-step instructions below. You have to follow them all the way through. I hope this helps.
Step by Step instructions to descale Keurig Coffee Maker
- Put the descaling solution in the tank. (you find the Keurig descaling solution easily online)
- Now, you have to put the machine in descale mode.
- Remember, you’ll need to leave the device plugged in and then turn the power button off.
- Press and hold the 8oz and 12oz buttons for 3 seconds till the big k brew button starts flashing.
- This puts it into descale mode.
- You will only see the big ‘k’ button’s light on. The power button does not light up.
- Press the k button, and it will run 12 oz through the machine.
- Keep pressing the k button till the add water light comes on.
- Don’t touch anything, Just put fresh water in the reservoir, and the add water light will go out, and the big k button will start flashing again.
- Press the ‘k’ button to start the machine again. This time, it will be rinsing the machine at 12oz each time you press the button.
- Keep pressing the k button till the water light comes on again.
- Once you fill it up with water, it will come out of descaling mode, and now you are ready to use it again.
Experts recommend performing the descaling process every three months and replacing the water filter every two months.
Conclusion
So, if you are a coffee lover, you’ll be good to go with filtered or RO water. It will give your Keurig a long life, and you will get rich coffee with a tempting aroma. You can also use tap water if it isn’t hard, and you are okay with cleaning your coffee maker now and then.
FAQs:
Why does my Keurig coffee maker say I need to add water when it’s full?
Keurig comes with a water level sensor installed at the base of the reservoir and detects when the water needs to be refilled. If Keurig indicates that water needs to be added despite already being filled with water, then there are some tips you can try.
- Make sure that the reservoir is adjusted correctly. You can remove the reservoir and install it again.
- Turn the machine off and then turn it on after a few minutes.
- Remove the reservoir, clean it thoroughly, fill it with water, and place it back.
- If none of the above works, your Keurig may need a thorough descaling.
Where to put water in Keurig?
It will depend on the model of your Keurig coffee maker. The water reservoir should be located on the front or back of the coffee maker. Once you find it, draw the cap and pull it up. Rinse it with fresh water. Now fill the reservoir up to the mark, set it back, and cover the lid.
However, If your coffee maker has a built-in reservoir, you can use a separate faucet and fill it to the given mark.
Why do Keurig coffee machines say not to use distilled water?
You probably have model 2.0 or new Keurig models. Generally, distilled water is too pure for the sensor to work appropriately, and the machine indicator keeps saying to fill the reservoir even if it is already filled.
If you want to avoid such conditions, it is recommended to brew your coffee with filtered or Reverse Osmosis water.
Can I use hard water in Keurig?
It’s not recommended to use hard water in your Keurig, mainly because of the high mineral concentration, which can damage your Keurig over time and give a bad taste to your coffee. Filtered water is the best bet for Keurig and the rich flavor of your joe.
How long can water sit in the reservoir of a Keurig machine without poisoning yourself? Or Should you leave water in Keurig?
There is no time limit. However, If you are anxious about bacteria and water-borne pathogens that can grow over time. The good news is they all killed above 145F, and your brewer is pretty much hotter than this. However, it is good to brew your coffee with fresh water or change it every 12 to 24 hours. It will keep your machine safe and give you a good taste with a better aroma.
How do I connect my Keurig to my water line?
Connect a valve at the end of the pipe coming out of your water supply. Now join another length of the pipe to the other end of the valve. Drill a hole in your Keurig’s water reservoir, pass the other end of the pipe into the reservoir through that hole, and there you go.
With the addition of a float valve, you can also automate the filling process.Adjust the float valve in the reservoir. It will control the water level and automatically stop once complete.
Remember, this is a technical task; hence it’s better to perform it under expert supervision or assistance. Always make sure to check for any water leakages from the joints.