How To Use Nespresso Milk Frother? [Step-By-Step Guide]
A delicious cup of coffee is one of life’s greatest indulgences. The most satisfying thing is to make your silky-smooth cappuccinos and lattes at home.
With the Nespresso frother, you can have your favorite morning indulgences at your fingertips. Nespresso Aeroccino 3 and 4 allow you to froth milk as you’ve never seen before.
You no longer have to buy expensive coffee from a coffee shop, nor do you need any complicated equipment. All you need is a compact Nespresso machine, a Nespresso milk frother, and your favorite milk.
With the Nespresso Aeroccino milk frother, you can open doors to various delicious coffee drinks and create barista-style latte art. With it, you can create creamy milk froth in about a minute, whether hot or cold.
Read on to learn how to use Nespresso frother and how to get the best out of it.
What are the Different Types of Milk Frothers?
There are different types of milk frothers available in the market. While all serve the same purpose, some are manual, and some are electric milk frothers. They may differ from one another for their convenience and price range.
Let’s have a look at some of our top picks:
1. Built-in Frothing Wand in Espresso Machines
There are Espresso machines that come with an integrated milk frothing wand. This milk frothing option might be expensive, but it offers convenience and quality.
Using a built-in frothing wand in an espresso machine requires basic skills and practice to create the perfect foam. However, as soon as you master the milk frothing process, you’ll be able to produce homemade milk and coffee recipes that rival those from coffee shops.
Nespresso Creatista can be a great option for preparing textured milk with an automatic built-in milk frother.
2. Hand Whisks and Electric Frothers
Electric frothers, also known as hand whisks, are handy and require no specific skills to master the art of frothing. They are a relatively affordable option for creating frothed milk for your beverages.
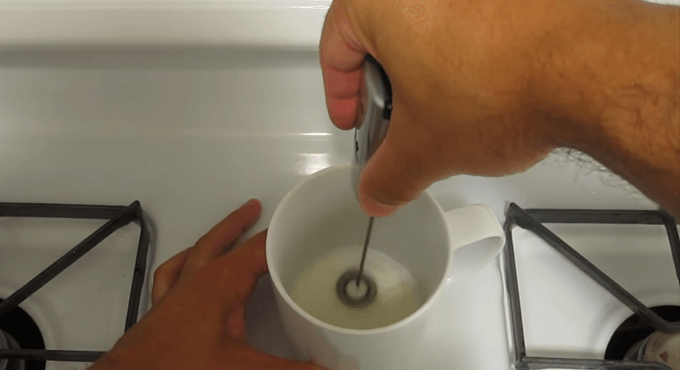
Electric frothers do not require any power supply as they operate on batteries. A motorized whisk attached to the frother spins the milk quickly to create the perfect texture.
Depending on the usage, you might have to get new batteries for your frother often.
3. Jug Frothers
Jug frothers are efficient for milk frothing but also very easy to use. You can simultaneously heat and froth the milk using a jug frother.

A Jug frother uses induction coils to create heat within the jug to whisk the milk into an even, smooth foam. You can get the perfect foam to elevate your hot or cold beverages within a few minutes.
How Nespresso Milk Frother Works: A step by step by step Guide
Using a Nespresso milk frother is quick and easy, so read the following steps carefully, and you’ll be ready to take your barista skills to the next level.
Step 1: Choose between Foamed Milk and Steamed Milk
The first step is to decide what type of milk you want for your coffee to set the mode of the frother. Nespresso milk frother gives you a choice between steamed milk and frothed milk.
Select the Froth option if you want foamed milk for a creamy cappuccino. Do not remove the coil around the whisk, so it aerates the milk to create large air bubbles, resulting in the perfect foamed milk.
Choose the steam option on the frother to make a classic latte of two-thirds steamed milk. Remove the coil from the whisk and give it a few minutes to heat up. The frother adds steam to the milk, creating tiny air bubbles and breaking fat content.
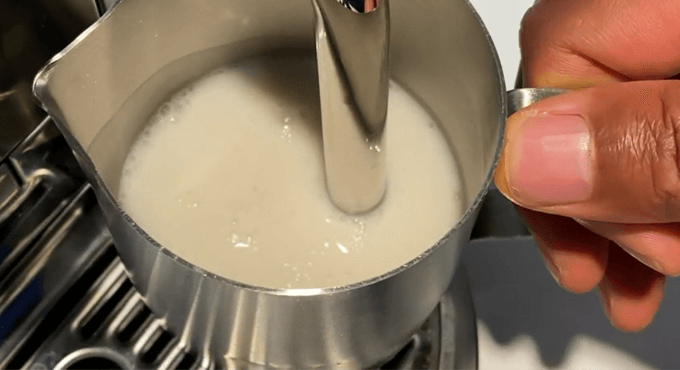
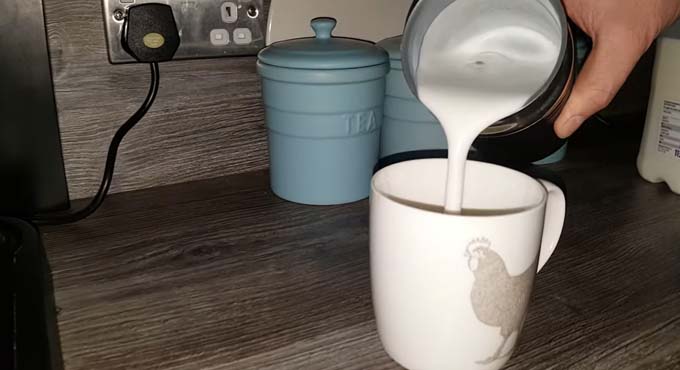
Step 2: Pour Milk into the Nespresso Frother
Once you have set the desired mode, pour cold milk into the frother according to the required amount for your drink or to the max line. Remember, if you use it without removing the coil, it will overflow if you add more milk than required.
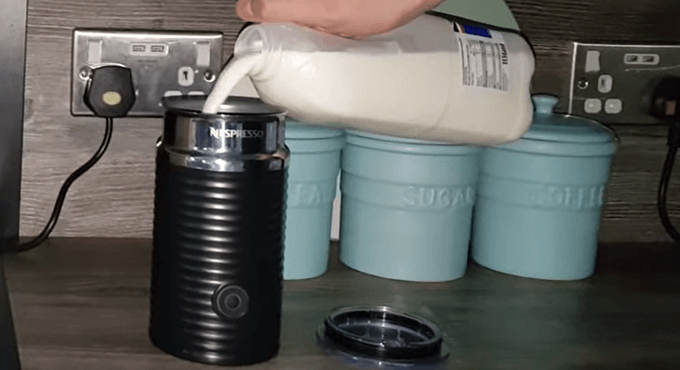
The type of milk you use is critical for achieving the perfect texture. We recommend using whole milk with at least 2% fat content. For plant-based alternatives, we recommend soy milk, almond milk, or oat milk for the best results.
Step 3: Set the Temperature
When you press the button on the container once, a red light will appear that indicates that it’s preparing hot froth.
You can get a cold foam by pressing the button within two seconds; the blue light indicates the cold milk froth.
Step 4: Serve and Enjoy!
While the frother is frothing milk, prepare espresso or double espresso with your Nespresso machine, and add the milk from the jug directly to the drink.
You can use your favorite flavors and blends from the range of Nespresso Pods for your milk-based coffee. However, we recommend using coffee pods with dark roasts and higher intensity for the best taste.
Nespresso Aeroccino 3 vs 4: How do they Differ?
Aeroccino 3 and 4 milk frothers accompany Nespresso capsule espresso machines since most do not have integrated milk frothing capabilities. The following table will help you figure out their similarities and differences.
Considerations | Aeroccino 3 | Aeroccino 4 |
Design | Stainless steel pitcher with plastic housing | Chrome finish pitcher with stainless steel housing and a spout |
Frothing Options |
|
|
Max Indicator Lines | Yes | Yes |
Dishwasher Safe | No | Yes |
Weight | 1.9 pounds | 2.2 pounds |
Dimensions (LxWxH) | 3.9 x 3.9 x 7.2 inches | 7.08 x 7.08 x 8.26 inches |
Buy |
How to Clean Nespresso Milk Frother?
Cleaning and maintaining the Nespresso milk frother is crucial for its longevity and efficiency. The cleaning regime is simple and quick.
What you will need:
- Water
- Dish soap
- Non-abrasive cloth/Sponge
Method:
- Turn off the milk frother.
- Separate the pitcher from the base.
- Remove the lid and its seal. Also, detach the whisk.
- Rinse all removable parts with water thoroughly.
- Use dish soap and non-abrasive cloth to clean each part separately.
- Clean the inside of the pitcher with a soft sponge.
- If your frother still needs to be completely cleaned, fill the pitcher with water and dish soap.
- Pat dry the underside of the frother and switch it on as if you are frothing milk.
- The milk residue and gunk will wash out during this process, leaving you with a clean frother ready to use.
Note: Clean your Nespresso milk frother after every use to avoid any milk residue drying up.
How to Reset Nespresso Milk Frother?
If your Nespresso milk frother is showing an error and you cannot determine the issue, it’s time for a reset. A factory reset is the quickest way to fix any underlying malfunction of the milk frother.
To reset your frother:
- Hold down the two arrow buttons on the machine for 3 seconds simultaneously.
- After that, confirm with a single press of the center button.
- The device is factory reset!
What Milk is Best For Nespresso Frothers?
Whole milk or milk with at least 2% fat content works best for creating hot or cold foam. It makes the foam creamy and thick, giving the perfect texture to your lattes and cappuccinos.
Using skim milk, which is light in texture, will create larger air bubbles. The foam from skim milk will be delicate and light.
Where To Buy Nespresso Aeroccino Milk Frother?
The following table shows where to buy your favorite Nespresso milk frother.
Milk Frother | Nespresso Aeroccino 3 | Nespresso Aeroccino 4 |
How does it look like? |  |  |
Details | Aeroccino3 makes both hot and cold foam within a few minutes. This appliance produces 240 ml of warm milk and 120 ml of frothy milk. | Using the Aeroccino 4 frother, you can prepare two types of hot foam (airy or dense), warm milk and cold foam. The frother is dishwasher-safe and has a capacity of 8 oz. |
Buy |
FAQs:
Does the Nespresso milk frother heat the milk?
Yes! If you don’t want to prepare hot or cold foam and want hot milk, your Nespresso milk frother can do that well. It can heat milk to almost 160 to 170 degrees.
What do the buttons mean on the Nespresso milk frother?
You can make a warm, airy milk froth by pressing the far right button, a warm, liquid milk foam by pressing the second right button, or a cold froth by pressing the first left button.
Should milk be heated before frothing?
No! The colder and fresher the milk is, the better it will froth or steam. If you use hot or warm milk, it will not create a smooth and fluffy foam.
Can you add sugar to milk before frothing?
Adding sugar to the milk before or during frothing doesn’t affect the texture of the foam, so you can do it if you like.
What happens if you froth milk twice?
Frothing destroys some proteins and fats in milk and expands. To retain its flavors and texture, you must only froth milk once.
Why does coffee taste better with frothed milk?
Milk contains lactose, which breaks down when you heat it. So when you add hot milk to coffee, it adds sweetness and extra flavor, making it more delicious.