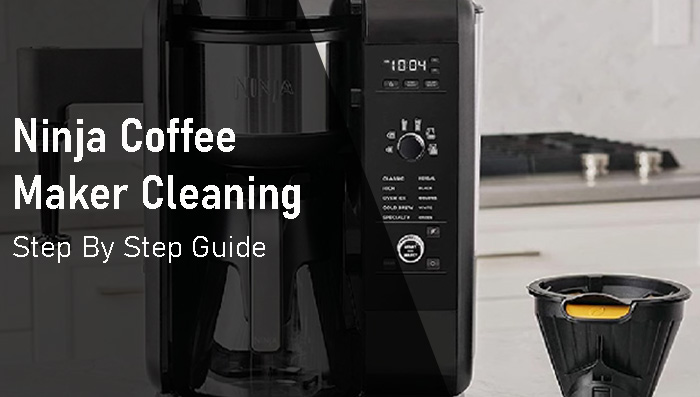
How To Clean A Ninja Coffee Maker: (5 Easy Steps to Follow)
Are you tired of drinking coffee that tastes like it’s been filtered through a pair of old socks? Well, my friend, it’s time to clean your Ninja Coffee Maker.
As much as we love the convenience of a coffee maker, we often forget they need a little TLC too.
Neglecting to clean your coffee maker can lead to a buildup of old coffee oils, mineral deposits, and who knows what else. It’s like a breeding ground for bacteria.
Trust me. I learned the hard way when I tried to make myself a cup of Joe. It tasted like I was drinking from a stagnant pond.
In fact, I recently had to clean my friend’s Ninja Coffee Maker. Let me tell you; it was a mess. But fear not, my fellow coffee enthusiasts, because I’m here to share the best ways to clean your machine.
This article will show you what a dirty coffee maker looks like and the necessary cleaning tools. Plus, it will include step-by-step instructions on how to clean your Ninja Coffee Maker like a pro.
So, grab a cup of coffee (if it’s still drinkable), and let’s get cleaning!
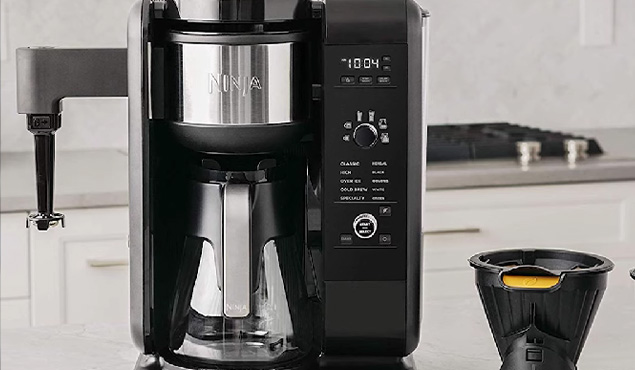
Components of Ninja Coffee Maker
Let’s look at the different parts of a Ninja Coffee Maker and how they contribute to the coffee-making process.
The Tank
This is where the water goes, folks. Without it, we’d have nothing but hot air and disappointment.
The Filter
This is the unsung hero of the coffee-making process.
This part catches all the coffee grinds, so we don’t have to. Some machines have an internal filtration system, while others have an external like cone filter paper.
The Carafe
It is the final destination of the coffee. It holds the brewed coffee. Depending upon the model, a coffee maker may have a stainless steel or glass carafe.
The Heating Element
This portion brings the heat. Without it, we’d be forced to drink straight from the machine like savages.
The Control Panel
This is the brains of the operation. This little guy helps us select our brew strength and size, ensuring we get the perfect cup every time.
So, there you have it, the Ninja Coffee Maker broken down into its components. We’ll see how each of these parts contributes to the cleaning process.
Signs of a Dirty Ninja Coffee Maker
If you think that your Ninja Coffee Maker looks like it might need a little bit of love, it’s time for “operation cleanup.”
Let’s take a closer look at some of the indications that your coffee maker is feeling a little dirty:
- Your coffee tastes bitter or stale
- The machine emits an unpleasant odor while brewing
- The brewing process takes longer than usual
- The coffee maker has visible mineral deposits or coffee stains
- The machine has not been cleaned in over a month
If you see any of these signs, your machine wants you to take out the cleaning supplies.
Cleaning the Ninja Coffee Maker
It’s time to tackle that dirty Ninja Coffee Maker and get your coffee game back on track. But before diving in, let us ensure we have everything needed to complete the job.
Preparation
- White vinegar or a descaling solution (For optimum results, I recommend using Keurig Brewer Cleanse Kit)
- Water
- Dish soap
- A clean rag or sponge
- A soft-bristled brush or toothbrush
Now, let’s get down to business and start cleaning the Ninja Coffee Maker.
Before starting the operation, prepare the machine using the “Clean” button at the bottom. A red light will indicate that the coffee maker is ready to clean.
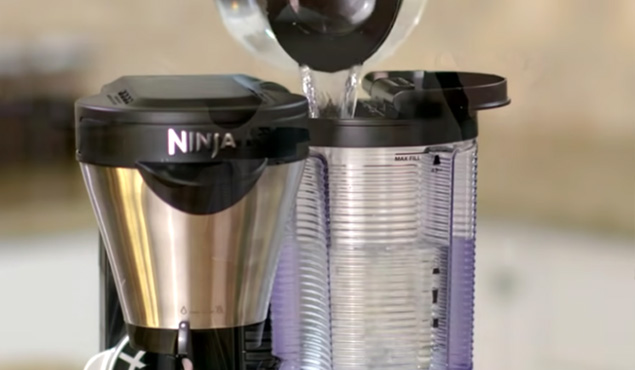
Step 1: Descale the machine
Fill the water balance with equal parts water and vinegar solution/descaling solution up to the “Max Fill” line. Run a full brewing cycle without any coffee grounds or filter.
Once the cycle is complete, repeat the process with plain water to rinse the machine.
Important Note: The descaling process varies from model to model. Contact your supplier for the best possible way to descale your machine.
Pro Note: If vinegar is used for descaling, utilize only white vinegar. Other types may disturb your machine.
Step 2: Clean the Exterior
Wipe down the machine’s exterior with a damp rag or sponge and a bit of dish soap. Be sure to clean all the surfaces, including the carafe, lid, and control panel.
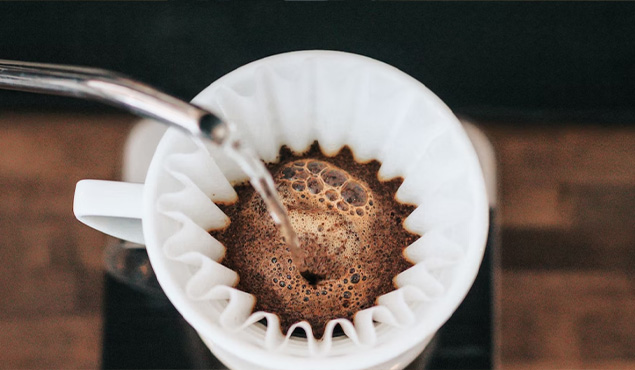
Step 3: Clean the Filter
Remove the filter basket and wash it with hot soapy water. Use a soft brush or toothbrush to clean any hard-to-reach areas. Rinse thoroughly and allow to air dry.
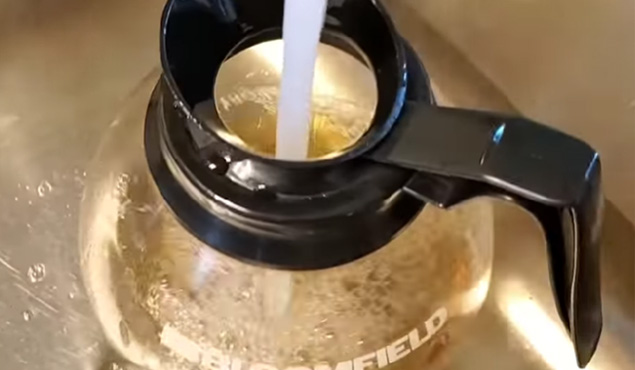
Step 4: Clean the Carafe
Wash the carafe with hot soapy water and a sponge. For stubborn stains or buildup, use filter paper and fill the carafe with a mixture of water and white vinegar.
Allow the solution to sit for 15 minutes before rinsing thoroughly.
Step 5: Put it All Back Together
Once everything is clean and dry, reassemble the machine and run a brewing cycle. Use plain water to ensure that any residual vinegar or cleaning solution is rinsed away.
Congratulations! You have successfully cleaned your Ninja Coffee Maker and can now enjoy a fresh, delicious cup of coffee.
Pro Tip: Clean the carafe and filter basket after every use to keep your machine healthy.
Regular vs. Deep Cleaning of Ninja Coffee Maker
Regular cleaning is like a daily shower of your Ninja Coffee Maker. It keeps things clean and functioning properly. But every once in a while, it’s time for a deep clean. It’s like a spa day for your machine.
Deep cleaning involves a more thorough and intensive cleaning process. It includes descaling and scrubbing hard-to-reach areas like the one described above.
Here is a table comparing regular cleaning and deep cleaning of your Ninja Coffee Maker:
| Considerations | Regular Cleaning | Deep Cleaning |
| Frequency* | Daily/weekly | Monthly/quarterly |
| Purpose | Basic maintenance | Intensive cleaning |
| Method | Wiping down surfaces, washing carafe and filter | Descaling and scrubbing unreachable areas |
| Tools | Rag or sponge or cloth, dish soap | White vinegar/descaling solution, brush or toothbrush, dish soap |
| Duration | 10-15 minutes | 30-45 minutes |
| Benefits | Keeps machine running smoothly, improves taste | Remove stubborn buildup, prolongs machine lifespan |
| Recommend | Every day or every few days | Every month or every few months |
Note: The frequency of cleaning can also vary depending on your usage.
Troubleshooting Common Problems
Cleaning your Ninja Coffee Maker is important in maintaining its performance and longevity. At the same time, some common problems can arise during this cleaning process.
These include:
The Dreaded Vinegar Smell
Using white vinegar for descaling can leave your machine smelling less than desirable. However, with a few cycles of plain water, you can resolve this problem.
Lingering Soap Taste
Forgetting to rinse the soap off thoroughly can result in a soapy taste in your coffee. Therefore, make sure to rinse everything well with plain water.
Clogger Filter
If you don’t clean the filter regularly, it can become clogged with coffee grounds and other debris. This can result in a slow drip or no coffee at all. Therefore, keep the filter of the machine clean.
Water Leakage
If you don’t reassemble your machine properly after cleaning, you may experience water leakage during brewing. Double-check everything before brewing.
Missing parts
Taking part of your machine for cleaning can sometimes result in lost or misplaced parts. Keep track of everything to avoid any missing pieces.
You can frequently face the above problems while cleaning your Ninja Coffee Maker. The below-given table describes some more problems and their troubleshooting:
| Problem | Solution |
| Not brewing | Check the power light and water reservoir. Make sure the brew basket is in place. Reset the machine if needed. |
| Dripping water | Check the drip stop switch and ensure it is fully closed. |
| Grounds or sediments in coffee | Use filter paper or clean the permanent filter. Use coarser grounds. |
| Second cup of coffee hotter | Preheat the machine for three minutes before brewing. |
| Cup is overflowing | Use a larger cup. Adjust the brew size setting. |
| Clean light is not turning off | Repeat the clean cycle until it turns off. Reset the machine if needed. |
Remember, these problems are easily avoidable with a little extra care and attention. Keep your Ninja Coffee Maker clean properly; you’ll enjoy delicious coffee in no time.
Also Read: Keurig Vs. Ninja Coffee Bar: Which One Is Better?
Tips for Preventing Future Problems
Nobody wants to deal with coffee maker problems, especially if it means missing out on that sweet caffeine. To help you avoid future issues with your Ninja Coffee Maker, here are some tips to remember:
Regular Cleaning
As I’ve already established, regular cleaning is key to preventing future problems. Make it a habit to clean your machine at least once a week.
Use Filtered Water
Using tap water can result in the mineral buildup and other impurities in your machine. Invest in a good water filter to keep things clean and taste great.
Descale Regularly
Even with filtered water, mineral buildup can still occur over time. Be sure to descale your machine regularly to keep everything running smoothly.
Check for Labels
Keep an eye out for any signs of leakage during the brewing process. This could be a sign of a loose or faulty part needing replacement.
Conclusion
There you have it, folks – everything you need to know about cleaning your Ninja Coffee Maker. From understanding the different components of the machine to deep cleaning, you can find a complete guide in this guide.
You can keep your beloved coffee maker in tip-top shape with effort and attention, ensuring delicious coffee for years.
So go forth, and brew on.
FAQs
How Often Should I Clean My Ninja Coffee Maker?
Cleaning frequency depends on the usage of the machine. You should clean your Ninja Coffee Maker at least once a week to prevent the buildup of mineral deposits, coffee oils, and other impurities.
Vinegar vs. descaling solution; Which is better?
Descaling solution is better than vinegar for deep cleaning your Ninja Coffee Maker as it is more effective at removing mineral buildup.
Why is my Ninja Coffee Maker still dirty after cleaning?
Your Ninja Coffee Maker may still be dirty after cleaning if you don’t clean it thoroughly. Consider deep cleaning with a descaling solution.
What to do if my Ninja Coffee Maker has a strong Vinegar smell after cleaning?
If your Ninja Coffee Maker has a strong vinegar smell after cleaning, run several cycles with plain water to eliminate the smell.
Ninja Coffee bar’s clean light is always on. What’s the fix?
If the clean light on your Ninja Coffee bar is still on, try resetting the machine or running a clean cycle with a descaling solution. If the problem persists, contact Ninja customer support.
How often should you replace the water filter in a Ninja Coffee Maker?
You should replace your Ninja Coffee Maker’s water filter after every two months or sixty brew cycles, whichever comes first.