(Solved) Keurig Is Dispensing Too Much Water:
It can be frustrating if you rely heavily on coffee, but your Keurig coffee maker fails to fulfill your daily caffeine fix one morning.
Even though Keurig coffee makers are durable and reliable, they can sometimes experience issues that hinder the coffee brewing cycle.
Most of these issues have quick fixes, so you can resolve them at home and enjoy your morning cup of coffee without delay.
One of the most common issues a Keurig coffee maker can show up is dispensing too much water. There are a few reasons why this may happen, such as overfilling the water reservoir, having a clogged needle, or poorly puncturing the K-cup.
It is, fortunately, straightforward to fix most Keurig coffee maker problems without professional assistance.
This article explains common reasons behind a Keurig overflowing and their quick fixes.
Reasons Your Keurig Coffee Maker Won’t Stop Pumping Water
Before jumping to quick fixes, getting to the root cause is essential.
Let’s look at a list of reasons behind your Keurig coffee brewer overflowing:
1. Your Keurig Coffee Brewer is Dirty
If you don’t descale and clean your Keurig coffee maker regularly, it gets prone to debris and coffee residue accumulating around its internal parts. When there is a buildup in the Keurig machine, it hinders the normal brewing process.
The dust particles or coffee residue can disrupt the normal water flow through the coffee machine, resulting in overflowing.
2. The Keurig Machine has Clogged Puncturing Needles
Your brewer has two puncturing needles; the entrance and exit needles.
The entrance needle pierces the K-cup from the top to let water pass through it. On the other hand, the exit needle punctures the K-cup from its bottom to let the coffee flow out of it and into your cup.
Therefore, coffee grounds can accumulate in the needle over time – which isn’t sanitary. It could affect the taste of your coffee and can block Keurig’s water flow.
As a result, the needles do not properly puncture the K-cup resulting in water overflowing from the k-cup holder.
3. You didn’t place the Water Reservoir Correctly
Water overflowing from your Keurig might be because the water tank isn’t correctly positioned. The magnets on the coffee maker and the water reservoir must align appropriately for the water to flow through the machine.
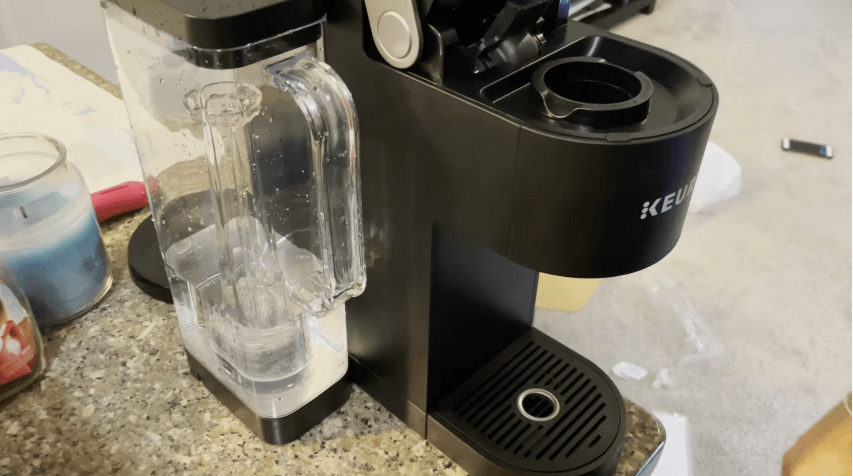
If you disrupt the alignment of these magnets, there are higher chances of your Keurig brewer showing water flow issues.
4. The Water Tank Contains Too Much Water
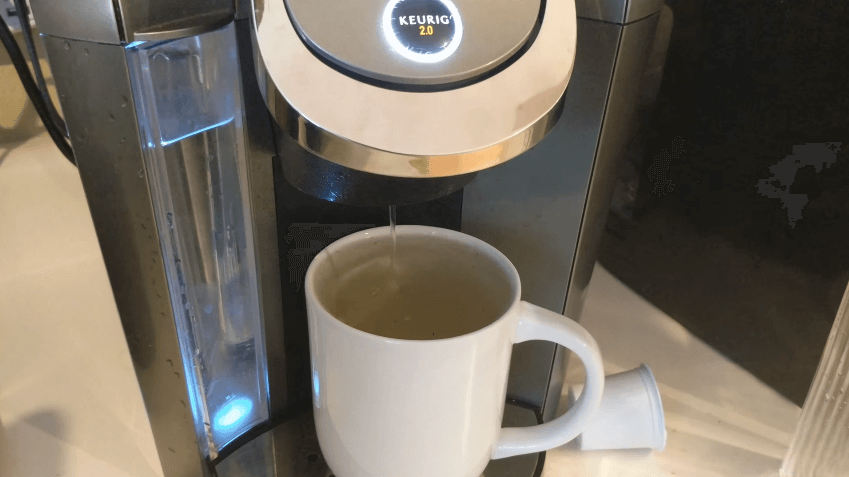
If you overfill the water reservoir, there is a high chance of your Keurig overflowing. Once you start brewing your coffee, the water will overflow from the water tank, leaving a pool of water around your coffee maker.
It can damage your coffee maker and cause electric shocks, so you must be vigilant.
5. The Keurig Brewer Needs a New Water Filter
Keurig brewers have a charcoal water filter cartridge essential for filtering the water before brewing coffee. These water filters are prone to getting dirty because they absorb all the bacteria and minerals from the water, purifying it for your coffee.
If you don’t replace the water filter every 2 to 3 months, it will be too dirty to do its job correctly. Not only will they fail to purify the water, but they can also cause your brewer to overflow.
Easy fixes for a Keurig Dispensing Too Much Water
Once you successfully decipher the problem causing your Keurig to dispense too much water, fixing the issue won’t take long.
Here are some quick fixes to resume the normal water flow of your coffee maker:
Descale your Keurig Coffee Maker
Descaling removes the calcium deposits and other substances that accumulate inside the brewer and cause several issues with the working of the coffee machine.
You must descale your coffee maker every 3 to 6 months or after brewing 300 k-cups. However, the time frame to descale may vary depending on the usage of your brewer.
To descale your brewer, follow these simple steps:
What you will need
- Keurig Descaling Solution
- Fresh Water
- Soapy water
- Non-abrasive cloth
Method
- Eject the used coffee pod from the brewer.
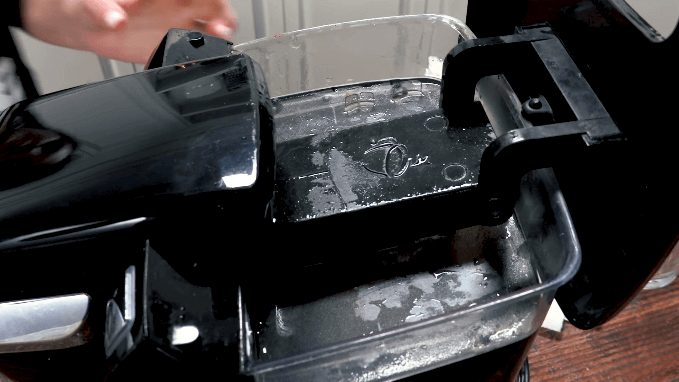
- Remove all removable parts; the drip tray and the water tank.
- Clean all the removable parts with soapy water and a non-abrasive cloth.
- Let the parts air dry and assemble the coffee maker.
- Pour the whole bottle of Keurig descaling solution into the water tank. Next, fill the rest of the water tank with fresh water.
- Place a mug on the drip tray.
- Select the largest cup size and press the brew button.
- The brewer will start dispensing water, removing the gunk from within.
- Discard the contents of the mug into the sink.
- Repeat the process till your coffee maker shows the “add more water” message.
- Refill the water reservoir with fresh water to the MAX line.
- When the brew button starts flashing, press it to run the cleansing cycle.
- Run several cleansing cycles to get rid of the descaling solution completely.
- Let your coffee maker sit for at least 30 minutes.
- Your Keurig is now descaled and ready to brew coffee!
If you don’t have a Keurig descaling solution, you can use white vinegar to clean your Keurig coffee maker. Mix equal parts of white vinegar and water to prepare your descaling solution at home.
Related Read: Easy Fixes For Keurig Still Says Descale After Descaling
Clean the Puncturing needles
Cleaning Keurig needles is simple, but you might find it technical if you do it for the first time. Also, you will have to be extra careful while handling the needles because they can give you a nasty poke.
If you own a Keurig 2.0 model, you can use Keurig’s brewer maintenance accessory tool for cleaning the needles. Otherwise, a paper clip works equally fine; you just got to straighten it.
To clean the needles. Follow these steps:
What you will need
- A paper clip or Keurig maintenance accessory tool
- Water
Method
- Turn off your brewer and unplug it.
- Open the machine head.
- Grasp the K-cup holder from the bottom with one hand, and with the other hand, lift it out to the brewer.
- Pull onto its sides to remove its funnel.
- Insert the paperclip in the needle to scrape off the coffee grounds and residue.
- Rinse all parts of the pod holder under running water to clean any leftover residue.
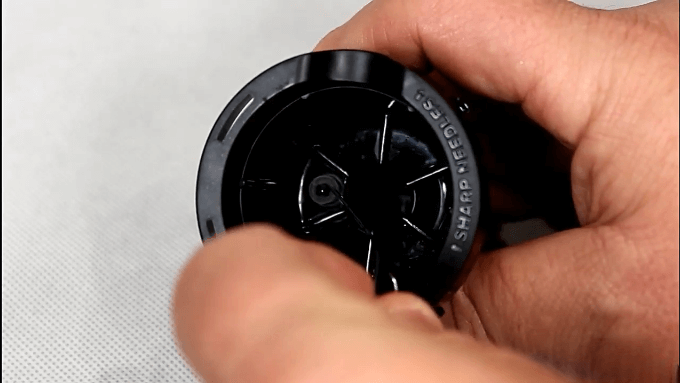
- Locate the entrance needle under the brewer’s head.
- Insert the straightened paper clip into the needle and wiggle it around to loosen the dried-up coffee grounds.
- Attach the funnel back to the pod holder.
- Align the pod holder tabs with the opening of the brewer to fix it back into its place.
Align the Keurig Water Reservoir Properly
For a smooth water flow, the sensory system of the coffee maker must detect the water from the reservoir. Make sure the water tank of your brewer has the correct position. It can only be possible if the magnets on the reservoir align with the water valve of the brewer.
You can remove the tank, refill it and adjust it to ensure it sits well with the brewer.
Do Not Overfill the Water Reservoir
The Water reservoir of a Keurig coffee maker consists of a scale to help you fill adequate water. The amount of water you need to add to the water tank depends on the Keurig model, as they differ in size.
Always fill the water to the max line. If you exceed the max line, your brewer will likely overflow during the brewing process.
Replace the Charcoal Water Filter Cartridge
The brewer’s water tank contains a plastic handle with a water filter cartridge.
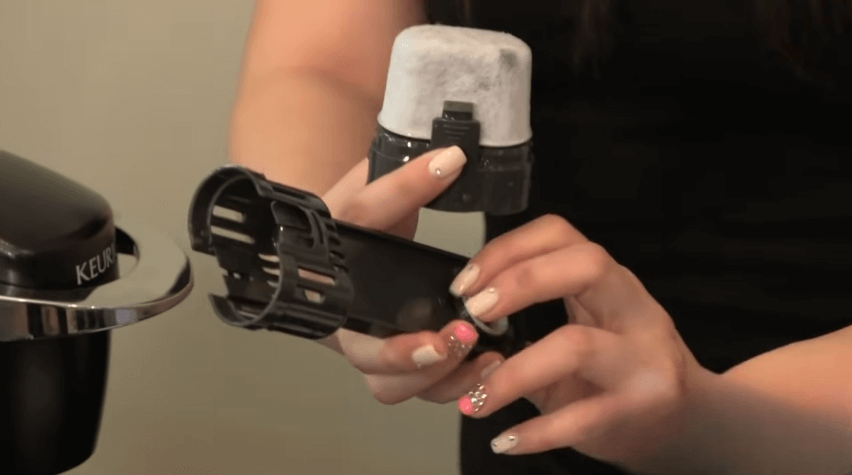
You can easily replace the cartridge with a new one by following a few easy steps.
What you will need
Method
- Remove the plastic water filter handle from the reservoir of the brewer.
- Detach the bottom part of the water filter handle from the upper filter holder by pinching on its sides.
- Once you pull apart the water filter handle, remove the charcoal water cartridge and discard it.
- Take a new charcoal filter, soak it in clean water for five minutes, and then rinse it under running water.
- Rinse the lower filter holder under the tap to clean its mesh of any residual particles.
- Insert the charcoal cartridge into the lower filter holder. Its flat side must cover the filter mesh.
- Attach the upper filter holder to the lower filter holder.
- Place the filter holder into the water tank and push it down to make sure it locks into place.
Why is Keurig Showing “ADD MORE WATER”?
Your Keurig brewer can show the “add more water” message even when enough water is available to brew coffee. It can happen due to certain reasons that stop the brewer from detecting the water level, so the add water lights stay on.
To resolve this issue, you can try these fixes;
- Unplug the brewer and remove the water tank. Let the coffee maker sit for at least 30 minutes to cool down.
- Empty the water reservoir, refill it, and put it back into the brewer.
- Remove the water reservoir and turn the coffee machine upside down. Shake the brewer gently and tap it a few times. Next up, refill the water tank and try brewing again.
- Descale and clean your coffee maker properly. The limescale and calcium deposits can disrupt the water flow.
Related Read: How to Prime A Keurig [Easy Steps To Follow Upon]
How Can I Reset My Keurig?
Restoring default settings can fix the majority of issues faced by Keurig owners.
Keurig coffee makers don’t have a reset button, but you can restore their default settings with a few simple steps.
- Turn off the coffee maker and unplug it.
- Remove the water tank.
- Let the brewer sit for at least 30 minutes.
- Reattach the water tank to the coffee maker.
- Plug the brewer and turn it on.
- Press the power button; your brew is reset to default settings.
Final Thoughts
If your Keurig machine overflows, it can ruin your mood instantly, leaving a puddle of water for you to clean. For this reason, you must regularly clean your coffee machine to prevent this overflow issue.
If cleaning doesn’t prevent the issue, you can try other solutions from this article before reaching out for professional assistance. The first step is to figure out the root cause, and then you can proceed to solve the problem.
Remember, looking after the coffee machines’ cleanliness and maintenance can prevent many inconveniences.
Contact Keurig customer service if these solutions don’t fix the overflowing issue. If your coffee maker still has a warranty, they will repair it for free.
FAQs
Why is my reusable K-cup overflowing?
The top of the reusable coffee filter coffee pod has a rubber gasket (or rubber thing surrounding the needle). If the reusable K-cup is overflowing, you must move down the rubber gasket a few centimeters. Then grab the gasket from both sides and lower it a bit.
Why is my Keurig not brewing a full cup?
The most common reason behind Keurig not brewing full cups is clogging. Over time, calcium deposits and gunk accumulate inside the brewer and disturb the brewing cycle. Descaling cleans the coffee machine thoroughly, removing all the debris. Hopefully, your brewer will start making a full cup.
How do I recalibrate my Keurig coffee brewer?
Calibration of the coffee maker is crucial to producing the finest cup of coffee. Maintaining your brewer’s heating element, removable water reservoir, and other parts that come into contact with water is essential. You must descale your coffee maker more often if you use it excessively.
Why is Keurig dispensing water while preheating?
If your brewer dispenses water during preheating, there can be two reasons. Either you have filled the tank with too much water, or the brewer requires cleaning. Ensure you fill the tank with adequate water; till the max line. On the other hand, descale and clean your brewer every 3 to 6 months to ensure its proper functioning.
Where is the water sensor on a Keurig?
A magnet inside the water reservoir works as a sensor to determine when the brewer requires more water for a cup of coffee.