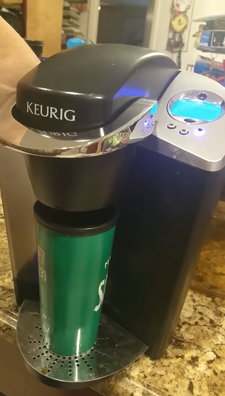
How You Should Drain A Keurig? (Step-By-Step Guide):

If you want your Keurig to stay for a long time, you should seriously plan how to take care of it. So, be sure to not forget to drain your Keurig.
Draining your Keurig basically means avoiding leaving water in the Keurig water reservoir or in the interior water tanks and tubes as it grows algae over time.
Hence, this can cause your machine to open too many other problems which you don’t want to face in the crucial morning time. That’s why we are gonna uncover the Keurig draining mystery and some spicy tricks to easily perform it this time and onwards too!
When should you drain your Keurig?
Draining Keurig really depends upon your usage or simply how often you make coffee. If you are a frequent user you should clean the machine every time and in that case, you can drain it only once a month.
However, on the other hand, if you are a regular user and are not cleaning your machine after every use you should be getting it drained now before your Keurig needs serious assistance.
Plus, it’s recommended to drain Keurig in warmer seasons before winter otherwise the pipes can clog and the water can freeze in it.
Drain Keurig Coffee Maker Without Disassembly:
You might have tried many solutions from cleaning the Keurig to making it upside down to drain water, but it still doesn’t work, right? Here are the quick steps you can try.
Draining Keurig without disassembly doesn’t require any tools. It will take 3-6 mins to do the whole process. Just follow the steps and you’ll be good to go:
1. Empty the water in your reservoir.
2. In the reservoir, you might have noticed a light blinking from a disc or a magnet that is connected to the inner tank or pipes in the Keurig.
3. Now hold this disc and place it on the base.
4. Place a cup underneath the brew head.
4. Brew a cup of coffee without a pod and water. This will help the machine to use the water inside the machine and push that out of your Keurig.
5. Now your Keurig will show you an alert that is to prime it.
6. For that you will brew a small cup of water again.
7. After that your Keurig will show that it has been primed.
And that’s how you can drain water in your Keurig in the best way possible.
What equipment do you need to drain a Keurig?
The equipment follows along differently with your Keurig model and the method you are following to drain your machine. Overall, you only require a Philips Flat-Head Screwdriver.
To get along with the process.
After getting a pack of screwdrivers, start the process of draining your Keurig according to your machine model.
How to Drain a K-Classic or Keurig 2.0?
While draining your K-Classic or Keurig 2.0, you have to disassemble its part to get to the water tank pipes by using a Philips screwdriver.
Follow along the points to make it work:
- Empty the machine by removing any inserted pod.
- Remove the water reservoir.
- Lift the brew handle and remove the top by applying some pressure on your hand and trying to lift it up. Try to work around it with your fingers so that it will be easier to pop the top up.
- Remove the front assembly of the machine by moving it upside down and unplugging all six screws using a screwdriver.
- Once the screws are out, remove the side panels by sliding them up.
- To remove the front piece, turn it on one side and try to slightly turn the whole thing towards the base. If you see they are opening from their upper side try to take them off.
- Now to remove the upper side of the Keurig panel, you need to use a thin pry and place it on the position and apply slight pressure to remove it. Move it around to the sides so it will be easy to remove.
- Pull the whole side out to unwind the Keurig technical side.
- Now from the front, remove the water intake assembly in a circular shape that is connected with pipes by hand.
- Use a towel underneath your Keurig to remove the draining water.
- Also, press the water intake assembly’s centre valve into the sink to take the water out.
- De-assemble the heated water reservoir from its place by using a screwdriver.
- Stand near the sink and remove the hose from the reservoir. The water will start to leak out.
- Wait for a little while for the water to get finished.
- Connect the pipes and the heated reservoir and re-attach the machine parts.
You just have to reverse the assembly process and you are good to go. If you are a bit confused, you can use a user manual to attach it back. And your Keurig is now completely empty from all water.
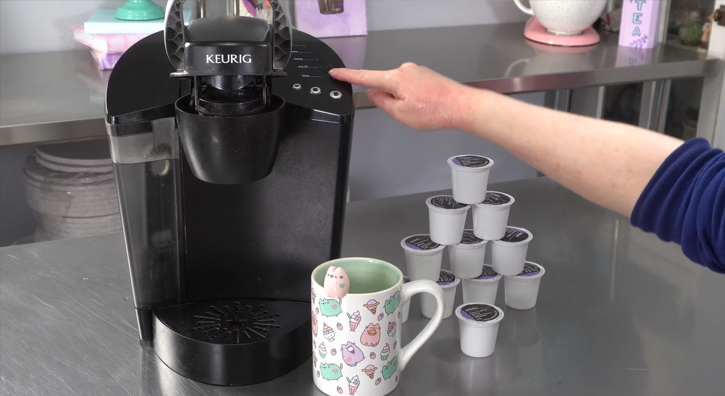
How to Drain a Keurig Mini, Mini Plus, or K15?
To drain a Keurig Mini, Mini Plus or K15 follow the steps below:
- Plug the machine.
- Press the power button to turn it off.
- Open the lid and add water into the water reservoir.
- Place a larger container under the brew head to catch on water draining out.
- Lift the brew handle for a while to pass water down to the inner heating reservoir. This will help the clogged water to drain out too.
- Wait for 5 seconds.
- Close the handle and hold the brew button until nothing is draining out from your Keurig.
And that’s it! Your Keurig has drained all the water out.
How to Drain a K-Slim or Keurig Rivo?
With Keurig K-slim and Keurig Rivo, it’s easy to drain water out because it doesn’t have any inner reservoir in the machine.
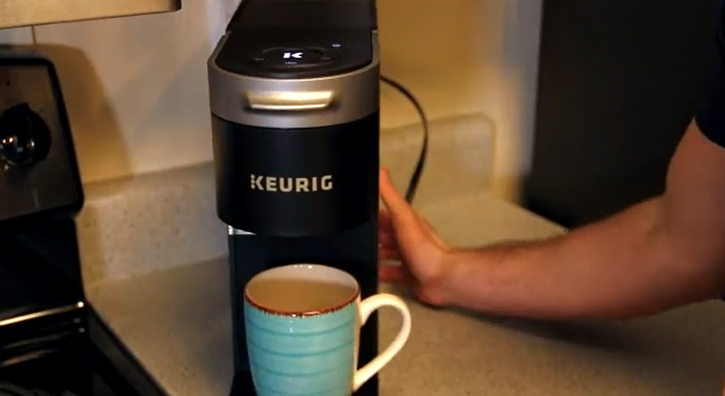
Instead, there’s a water pump that takes water from the reservoir, heats it up and then sends to the through the tube that goes through the K-cup.
Hence, to drain water out you just need to empty or clean the reservoir and you don’t need to worry about it!
How To Drain Water From Keurig Duo?
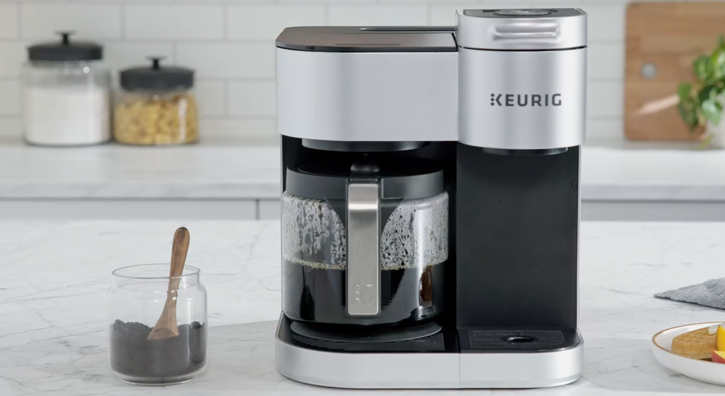
To drain a Keurig Duo follow the steps mentioned below:
- Plug the machine and turn it on.
- Add water into the reservoir.
- Place the container underneath the brew head to catch up on the draining water.
- Press the bigger cup brew option.
- After 5 seconds, the moment you start hearing the machine brewing water, remove the water tank.
- Wait for the machine to drain out at least a quarter cup of water into the container.
And here’s the simplest trick to drain your Keurig Duo.
Key Tips To Maintain Your Keurig Coffee Maker:
To maintain Your Keurig Coffee Maker you need to give it some attention and care. First, whenever you make your cup of coffee, be sure to remove the inserted pod and empty the water tank to prevent any buildup of bacteria.
Then once every week, clean your machine by using a Keurig cleaning pod and wash the outer components of the machine using Brew Rite Coffee Maker Cleaner. Make sure to clean the needle in the brew head of your Keurig as it also has clogged coffee leftover residues left in it.
If you use the machine consistently, you should descale it after 3 to 4 weeks using a Keurig descale machine.
And that’s it! If you keep these mindful tips in practice, you won’t face any problems with your Keurig for a longer period of time.
Bottom Line
Draining your Keurig is an important step to be followed once in a while for Keurig users. From the above, you are able to understand the fact that draining your Keurig for every model varies.
For some models like K-Classic and Keurig 2.0, the disassembly of the machine components can be a little bit tricky, but if it is followed well you can easily do that without any wear or breaking the machine.
Plus keep in mind that you should keep your Keurig in warm conditions so that it won’t freeze out!
FAQs:
How Long Do Keurig Machines Usually Last?
According to the majority, Keurig machines typically last three to five years. If your Keurig isn’t heating up properly, consider replacing it before then: Your coffee does not arrive piping hot.
Can you leave water in the Keurig reservoir?
You shouldn’t leave water in the Keurig reservoir for more than a day as it can lead to a build-up of many bacteria like algae that can clog the pipes and further cause many problems like coffee tasting bitter, coffee not hot enough, etc.
Hence, it’s better to empty the water tank after its usage and use fresh water each time you make coffee.
How long can water sit in a coffee maker?
You can make water sit in a coffee maker for as long as you want in its water reservoir but the bacteria production over time can be dangerous for your Keurig and your health.
What are the different types of Keurig?
Keurig coffee makers are single-serve coffee brewers. However, they come in different variations of models upgrading their software and components.
What Should I Do if My Keurig Won’t Pump Water from Reservoir?
The most common cause of a Keurig not pumping water is water scaling, which is debris that accumulates and interferes with the Keurig water pump. There are several solutions to this problem. The most basic method is to remove the Keurig water reservoir, empty it, and refill it about a third of the way.
Why Does My Keurig Say Add Water but It is Full?
What should you do if your Keurig® brewer says to add water but it is already full? Check that the water reservoir is properly seated in the base. Remove the reservoir, empty it, and thoroughly clean it. Then refill with fresh water and replace in the base.
What does the drain button do on a Keurig?
On Keurig B145 a drain button option. While using this draining option, hold down the Drain button. Water will begin to flow into the Water Reservoir from the vent nozzle. It will keep flowing as long as the button is pressed. When the drain button is depressed, the flow of water stops.