The DIY Guide to Repairing Your Keurig Coffee Maker
Silently brewing delicious coffee, Keurig coffee makers have become unsung heroes for millions of people. In fact, 3 in 4 Americans drink coffee every day, as per Drive Research.
With just a simple button press, you have a hot and fresh cup of coffee in seconds. But what do you do when your trusty Keurig suddenly stops working? Don’t panic, as we all have gone through this phase (or you might if you haven’t).
With some know-how and simple troubleshooting, you can easily fix your machine and have it brewing like a champ in no time.
In this article, I’ll take you through the most common Keurig problems and show you how to repair them. Some of these tips are my own tested because my Keurig K-Mini once betrayed me.
So, don’t throw in the towel just yet. Grab your toolkit, and let’s get your Keurig back up and running!
Is it Worth Fixing a Keurig?
A common question: is it worth fixing my Keurig? Well, as an expert in the field, the answer depends on the repair cost and the problem at hand.
A quick fix is all you need if the issue is minor, like a clogged nozzle or dirty water reservoir. However, you should consider a replacement for your Keurig for serious issues like malfunctioning heating elements or a cracked carafe.
Plus, you should consider the repair cost. If it’s significantly higher, then it might be the time to say goodbye to your old Keurig and say hello to a shiny new one.
In any case, the choice is yours, but I hope this guide will help you make an informed decision.
Can I Repair a Keurig Designed for Home Use?
The short answer is a resounding “Yes, you can!” However, the extent of home repair is limited to minor troubleshooting issues.
Since the home line of Keurig is not designed to be repaired, you won’t be able to repair their serious issues. On top of that, the company doesn’t send any repair kits with them, just like they do with the commercial series.
So, if you don’t have a roll-of-the-dice mindset, you shouldn’t try repairing your Keurig at home. But don’t lose hope now.
There are some issues that you can easily address with a little bit of guidance. Read below.
Keurig Coffee Maker Problems
Keurig coffee maker problems can range from complex technical issues to simple troubleshoots like clogging nozzles.

These problems can impact your coffee brewing experience and the quality of coffee. Understanding them can help you keep your Keurig in tip-top shape.
| Problem | Solution |
| Clogged nozzle | Run hot water through the nozzle to clear any blockage. |
| No water flow | Check the water reservoir and ensure it’s filled. Also, ensure the water liens are not clogged. |
| Brewing weak coffee | Check the strength setting, use fresh and high-quality coffee beans, and clean the machine regularly. |
| The machine is not turning on | Check the power source, ensure the machine is properly plugged in, and reset the breaker if necessary. |
| Unusual noises | Descaling the machine regularly can help eliminate unusual noises. If the problem persists, check for any loose parts or clogs. |
Expert guide: If your machine has a problem not listed above, you can read this easy-to-understand guide here.
What Can I Do to Repair My Keurig?
Repairing your Keurig coffee maker is all about having a can-do attitude and some troubleshooting know-how.
Start by identifying the issues. Once you have understood the problem, it’s time to put on your DIY hat and get to work.
Here are a few things you can do to repair your Keurig by yourself.
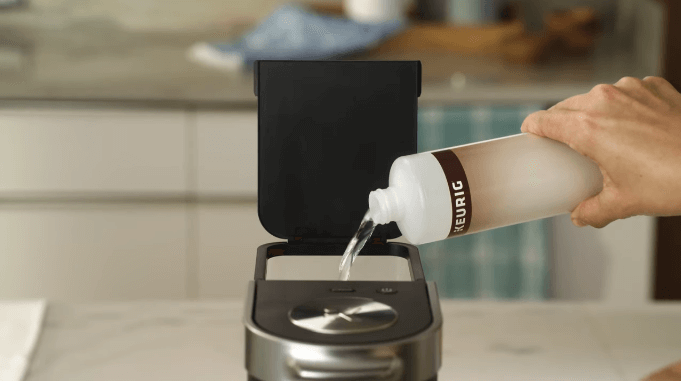
1. Descaling the Keurig Coffee Maker
Descaling is an important step in keeping your machine running smoothly.
Here is what you need: a descaling solution (I recommend the Keurig K-Duo 3 Month Care Brewer Kit), a large mug, and a smile (trust me, you will need it).
Just follow these simple steps:
- Fill up the water reservoir with the descaling solution and a large mug with water.
- Turn on your Keurig reservoir and place the large mug under the nozzle.
- Select the largest cup size and start the brew cycle.
- Once the cycle is complete, discard the contents of the mug. Keep the machine idle for 30 minutes.
- Fill the reservoir with fresh water and repeat the brew cycle several times to rinse the machine.
And that’s it. You’ve just descaled the Keurig coffee maker like a pro. Trust us. You’ll taste the difference in your coffee.
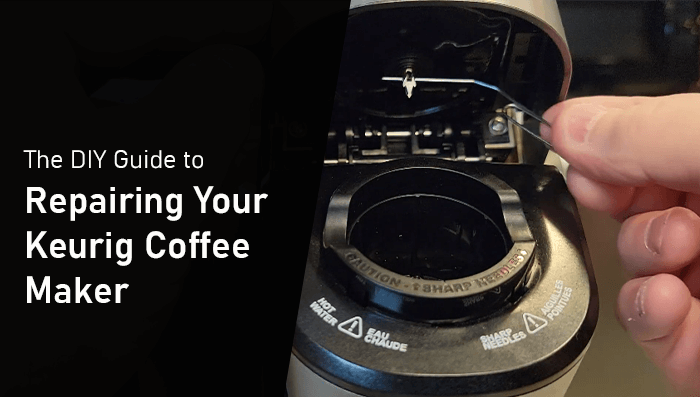
2. Cleaning the Entrance Needle
Why clean the entrance needle, you ask? Well, it is all about maintaining the performance of your Keurig coffee maker.

A dirty needle can lead to weak coffee, clogs, and other brewing problems.
So, let’s get that needle sparkling clean:
- Gather a toothbrush, a needle (or any similar sharp object), and a damp cloth.
- Turn off and unplug your Keurig.
- Remove the water reservoir and locate the entrance needle inside the brewer (It’ll be on the underside of the top half).
- Insert the needle in the detached entrance needle on both sides. Make sure to remove any clogged particles.
- Use the toothbrush to scrub the entrance needle gently from the outside.
- Once you are done, wipe the entrance needle and place it back.
Now you have cleaned the needle. It’s time to reassemble your Keurig. Plug it back in and enjoy your coffee.
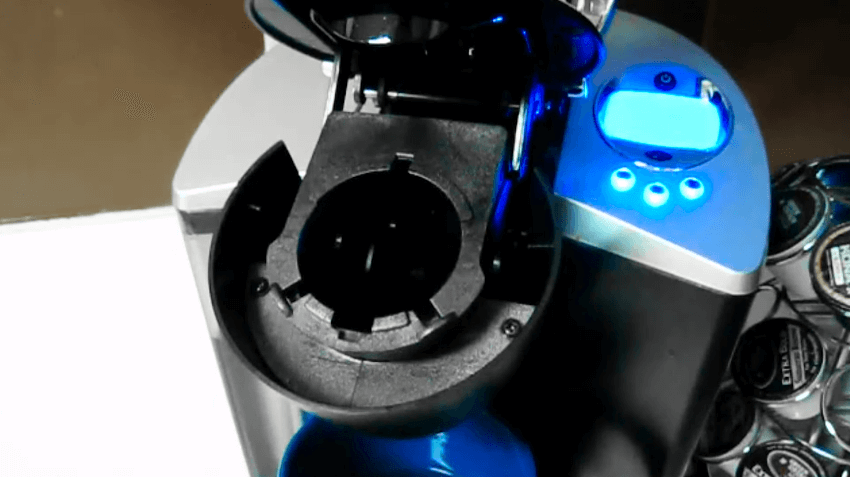
3. Clean the Exit Needle
Cleaning the exit needle is similar to the entrance needle.
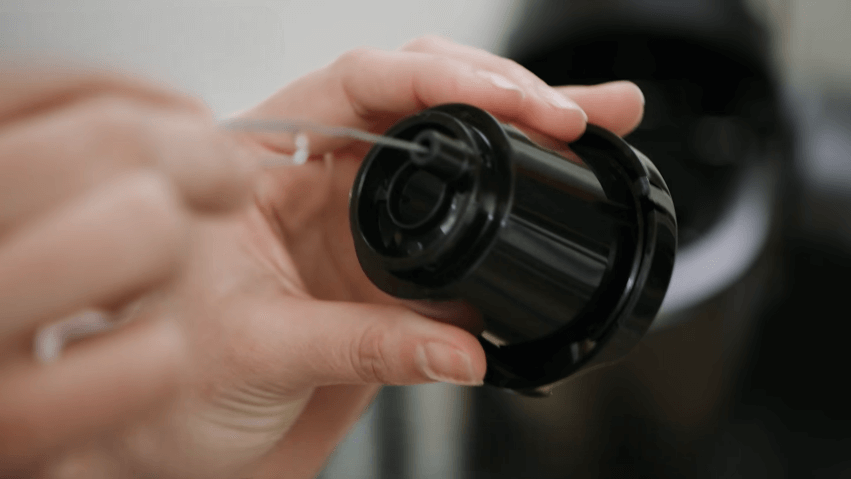
The exit needle is responsible for dispensing the coffee into your cup; if it is clogged or dirty, it can impact the quality and strength of your brew.
Here’s how you clean the exit needle:
- Gather a toothbrush, a needle-like sharp object, and a damp cloth.
- Unplug your Keurig and locate the exit needle, which should be on top of the brewing chamber.
- With the help of the needle, unclog and remove the hard particles from the exit needle.
- Use the toothbrush to clean the needle. Scrub it to remove any accumulated coffee grounds or residue.
- Wipe the area with the cloth.
- After cleaning, reassemble the brewing chamber back.
After finishing all the processes, plug in the Keurig and enjoy a great cup of coffee in no time.
I have made repairing a Keurig at home easy with this easy-to-read guide. You just have to follow a few steps, and you’re good to go.
However, if there are some major issues, I recommend you visit your nearest repair technician. These repair workers can save your dying Keurig; after all, they are experts for a reason.
Where Can I Send My Keurig for Repair?
If your Keurig coffee maker requires a weighty repair, you may wonder where you can turn for assistance. The good news is there are several options, depending on the issue and the warranty status of the machine.
First, check if your Keurig is still under warranty. If it is, contact the manufacturer. They’ll likely handle the repair for you.
But, if the machine has seen its better days and is out of warranty, you can try a local repair shop. These small appliance experts can bring your beloved coffee maker back to life. Make sure to research and find a reputable shop with happy customers.
And if all else fails, you can always send it back to Keurig and let the experts handle it. Before sending, you can check their website or call them at 1-866-901-2739 to know more.
But be prepared for a bit of separation anxiety – you may have to go without your morning coffee for a few days.
How Often Should a Keurig Be Replaced?
When it comes to determining the lifespan of your Keurig coffee maker, there are a few factors to consider. Usage, maintenance, and overall quality can affect how long your machine will last.
If you are a heavy coffee drinker and use your Keurig multiple times a day, it may be time to replace it sooner. Conversely, if you only use it occasionally, it may last longer.
The key is to clean and maintain your device regularly and to keep an eye out for any signs of wear and tear.
If you’re experiencing issues with your Keurig, such as leaks or a broken brewing mechanism, it may be time to upgrade.
The bottom line is your Keurig will let you know when it’s time for retirement. Just listen for the gurgles and groans, and you’ll find what to do!
How Long Does Keurig Last?
The lifespan of a Keurig coffee maker can vary depending on the usage and model for home use. An average home model can last anywhere from 3 to 5 years with proper care. However, a Keurig may need to be replaced sooner with heavy use.
On the other hand, commercial Keurigs are built with a higher use volume and can last up to 4 to 6 years.
Just keep doing that regular cleaning, descaling as needed to extend the lifespan of your Keurig.
Expert Tips on Keeping Your Keurig Well-Maintained:
Here are some expert tips for keeping your Keurig coffee maker in tip-top shape:
1- Regular Cleaning:
Give your Keurig a good wipe-down after each use. Do a deep cleaning every 3-6 months to ensure it stays in good condition.
2- Descaling:
Regular descaling is crucial for removing mineral buildup and ensuring optimal performance. Follow the instructions in your Keurig manual for the best results.
3- Use Only Keurig-approved K-cups:
Using non-approved k-cups can lead to clogs and malfunctioning of the machine. Therefore, stick to the Keurig-approved options to keep your machine running smoothly.
4- Check for Leaks:
Check the water reservoir and dispensing area for leaks. If you notice any drips, address them promptly to avoid causing further damage.
5- Proper Water Usage:
Use filtered or distilled water in your Keurig to prevent plaque or debris buildup. And don’t overfill the water reservoir, as this can cause leaks and other problems.
What is The Best Keurig Coffee Maker to Buy?
So, your trusty Keurig coffee maker has finally kicked the bucket, and you’re on the hunt for a new one.
But with so many models on the market, how do you know which is best to buy? Well, fear not, coffee lover! I’m here to care for this problem with years of experience in this field.
Honestly, the most useful purchase of a coffee maker depends on your personal preferences and needs. However, I have tested and used some models listed below:
Keurig K-mini is my favorite. With its 6-12 oz. brewing capacity and 12 oz. water reservoir, you can enjoy a hot cup of coffee in minutes. Small size and a big taste, it has every basic feature you want in a coffee maker.
Conclusion
The tl;dr is that I’ve prepared a guide about repairing the Keurig coffee maker. From whether it’s worth fixing your Keurig to maintaining your machine for a longer lifespan, you can find answers to plenty of your questions here.
Plus, we have also explored top options for replacing your Keurig if it comes to that. With these tips and tricks, you’ll be able to keep your coffee game strong. And who knows, maybe you’ll even impress yourself with your newfound Keurig repair skill.
FAQs
Why do Keurigs stop working?
Keurig stops working due to various reasons. These problems can range from small, clogged needles, to serious, such as slow brewing. Sometimes, you can take care of these issues on your own; other times, you have to contact an expert.
Can I get a Keurig for free?
Unfortunately, getting a Keurig coffee maker for free is rare. However, you can keep an eye out for special promotions and discounts.
For example, if you buy 24 boxes of K-Cup pods over 12 months from the official store, you get a Keurig mini for free.
Does Keurig have a trade-in program?
No, Keurig doesn’t have any policy specifically about trade-in programs. However, they have free-exchange offers, where you can swap your Keurig.
How do I know when my Keurig needs replacing?
Your Keurig may need replacing when it starts brewing weak coffee, leaking water, making noises, or is broken. Pay attention to these red flags, or you may have to (unfortunately) treat yourself to a new and improved machine.
Which Keurig is on recall?
A few Keurig models are on recall due to technical issues. These include:
- Keurig K-10 mini plus due to its overheating and spray water during brewing.
- Keurig K-15 due to overheating issues.
- Keurig K-elite Single Serve due to its weak body.
How do you tell if your Keurig is clogged?
The signs like weak or slow coffee, inconsistent brew sizes, or water leaking from the bottom indicate that your Keurig is clogged.